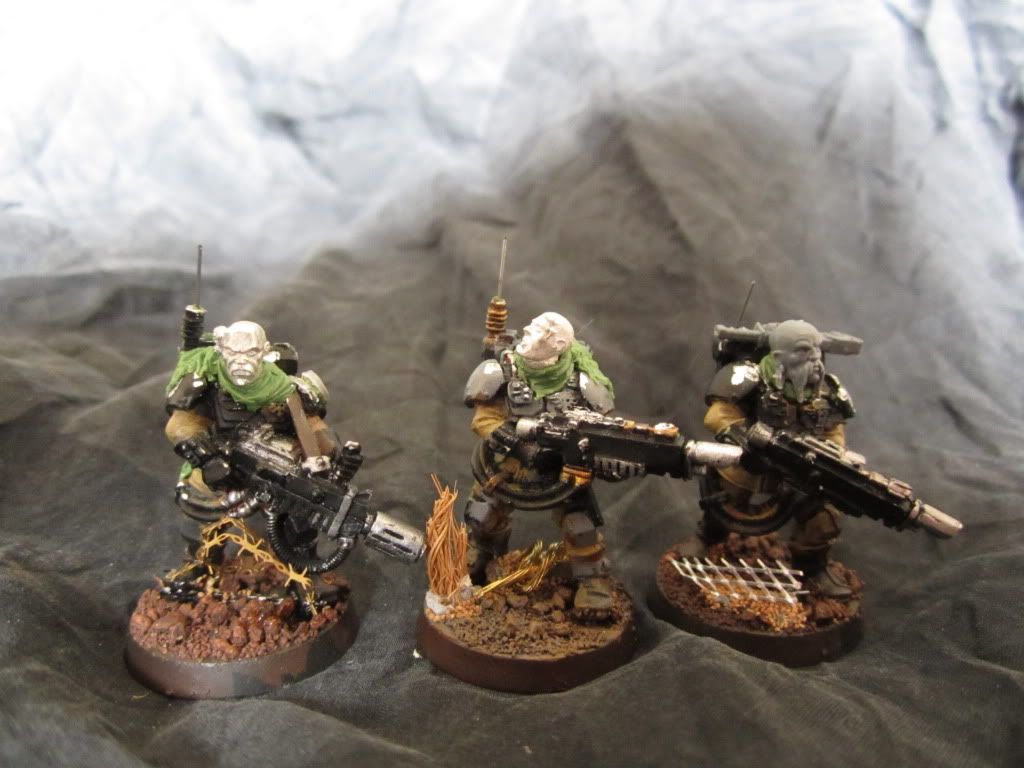
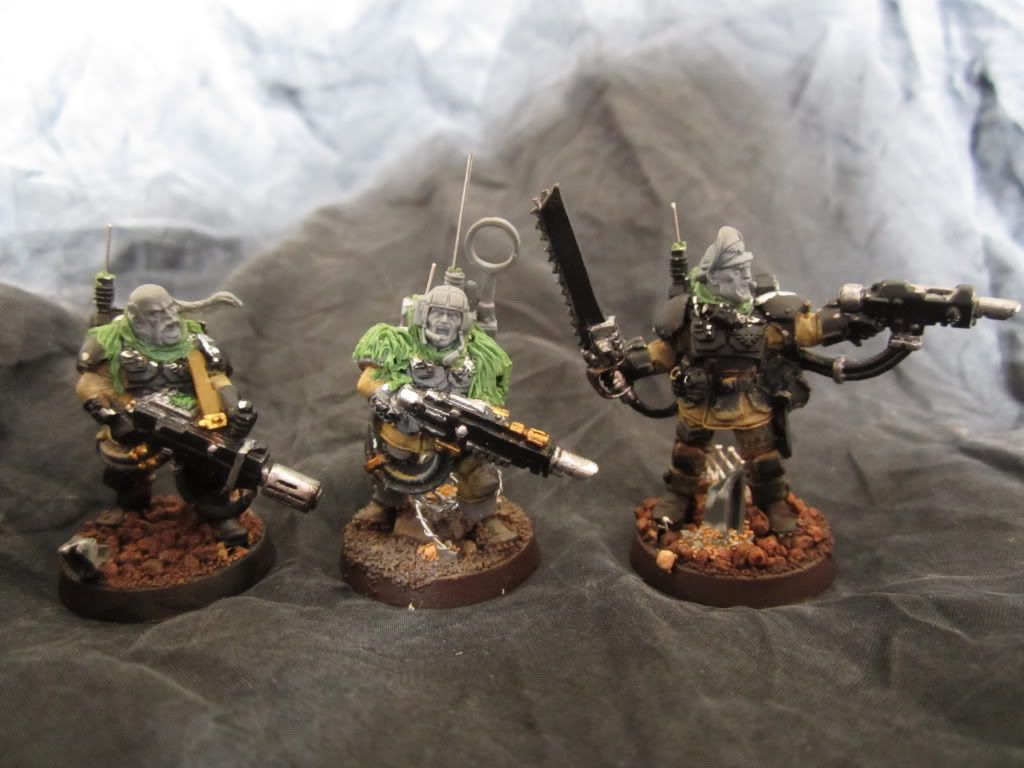
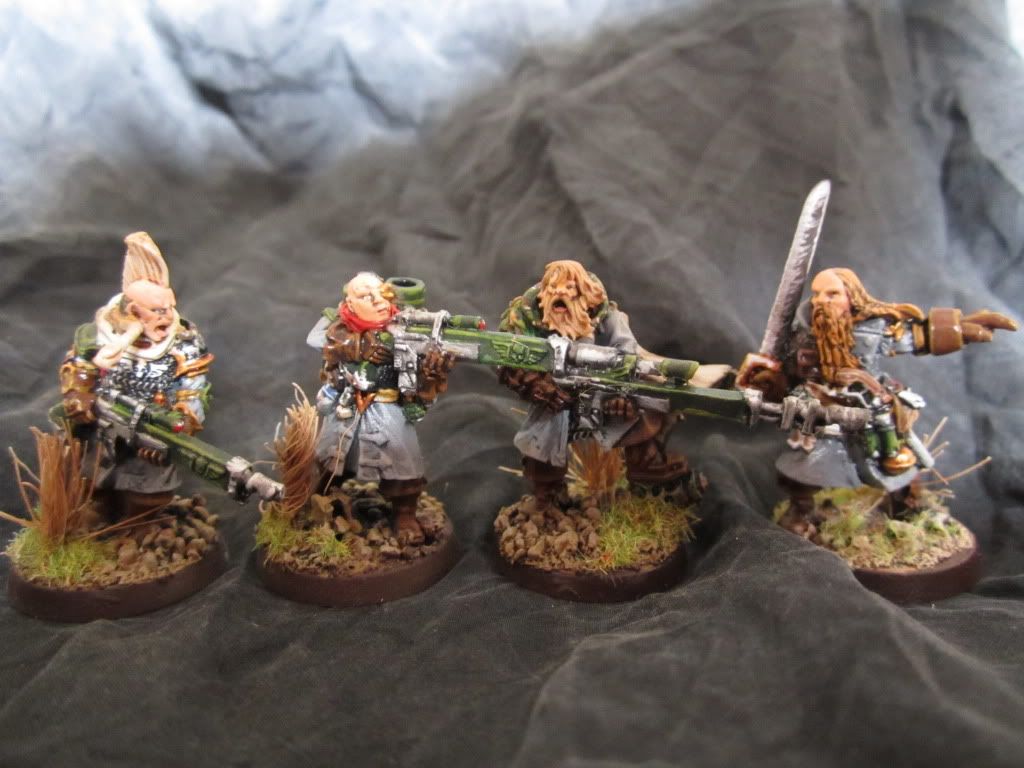
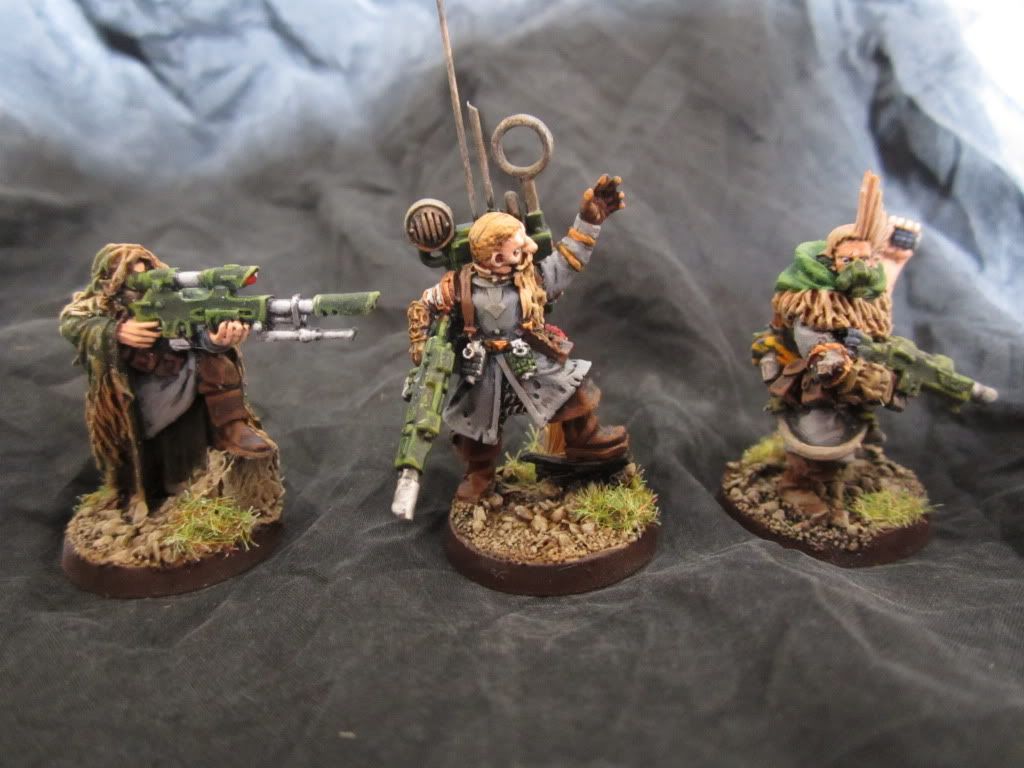
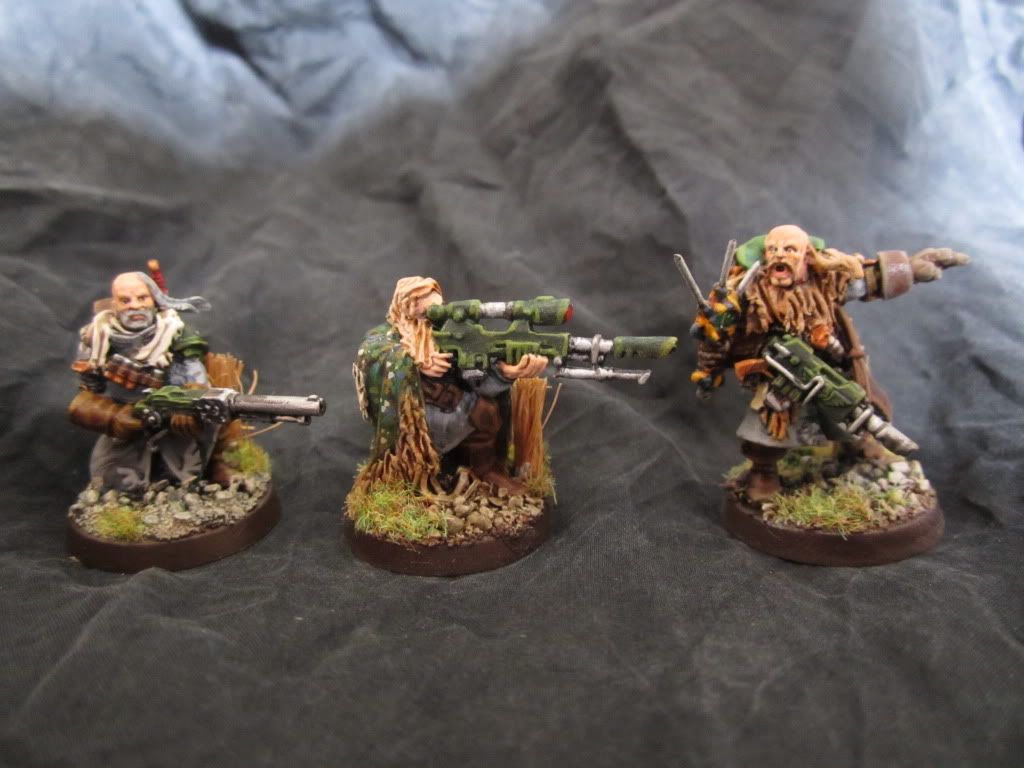
Further to the Maxmini torsos shown before, a wealth of body parts options is now floating around:
Maxmini:
Combat Armour torsos:
Ash Junkers heads:
Greatcoat legs:
Combat armour legs:
Puppetswar:
Anzac heads:
Victoria Miniatures:
Gas masks and goggles:
Kromlech:
Kneeling guardsman legs:
Blight Wheel miniatures:
Regular troop torsos:
Grant's Spectres - legs (various):
Statuesque miniatures:
Resistance fighters - helmeted heads:
Resistance fighters - gasmask heads:
Showing posts with label Imperial Guard. Show all posts
Saturday, 13 October 2012
Monday, 13 August 2012
Wednesday, 8 August 2012
Filling Gaps
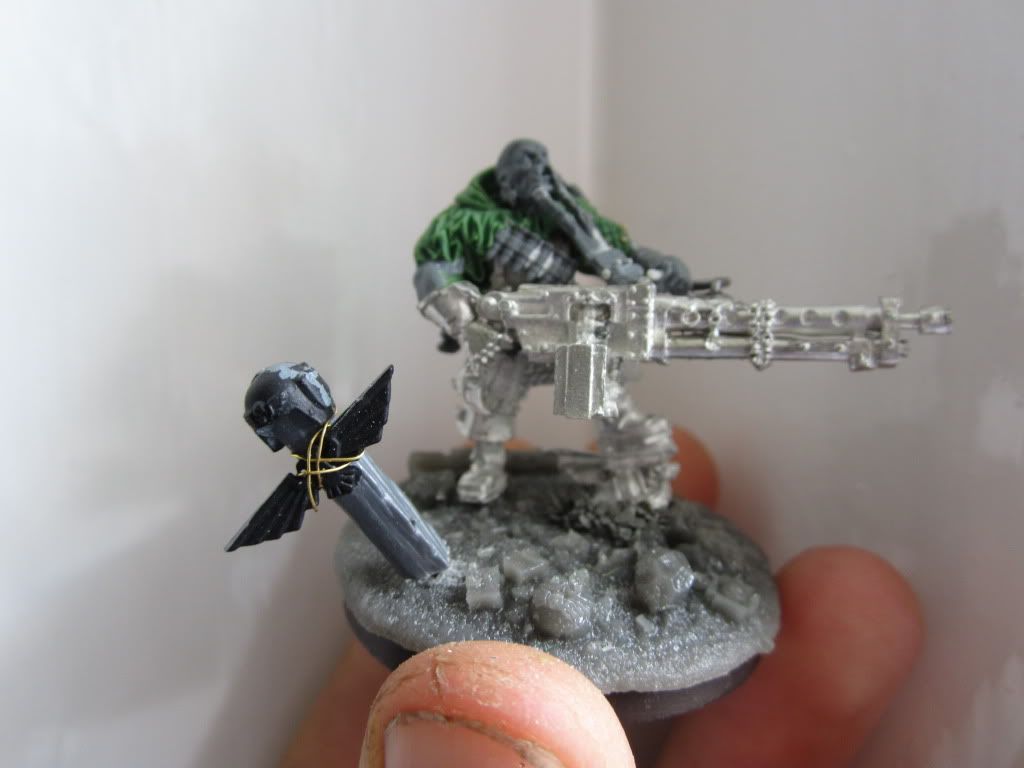
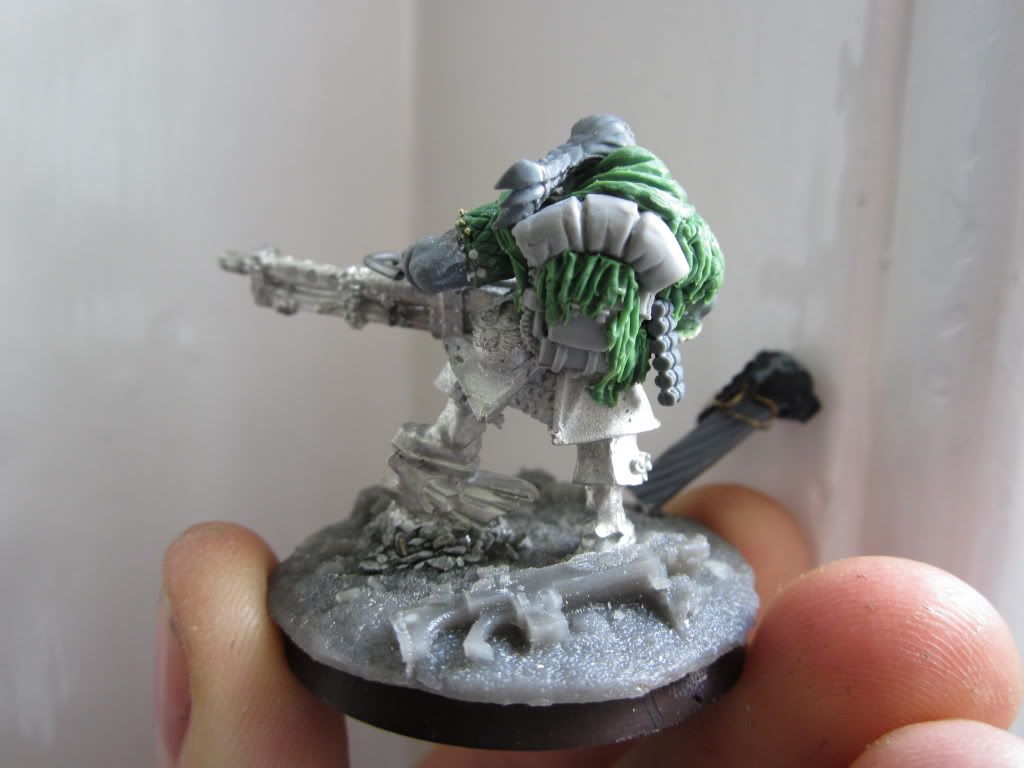
I have finished my Harker conversion, shown below. When I have finished painting him I will fix the grave marker to the base properly and add some reeds to tie him in with the rest of the veterans.
Note the studded and quilted armour on his left arm. That was a particular bitch to do.
I am currently working on a sniper so that I have enough for a Ratling proxy squad, and a heavy bolter team for the Veterans. When I have finished sculpting I will upload photos.
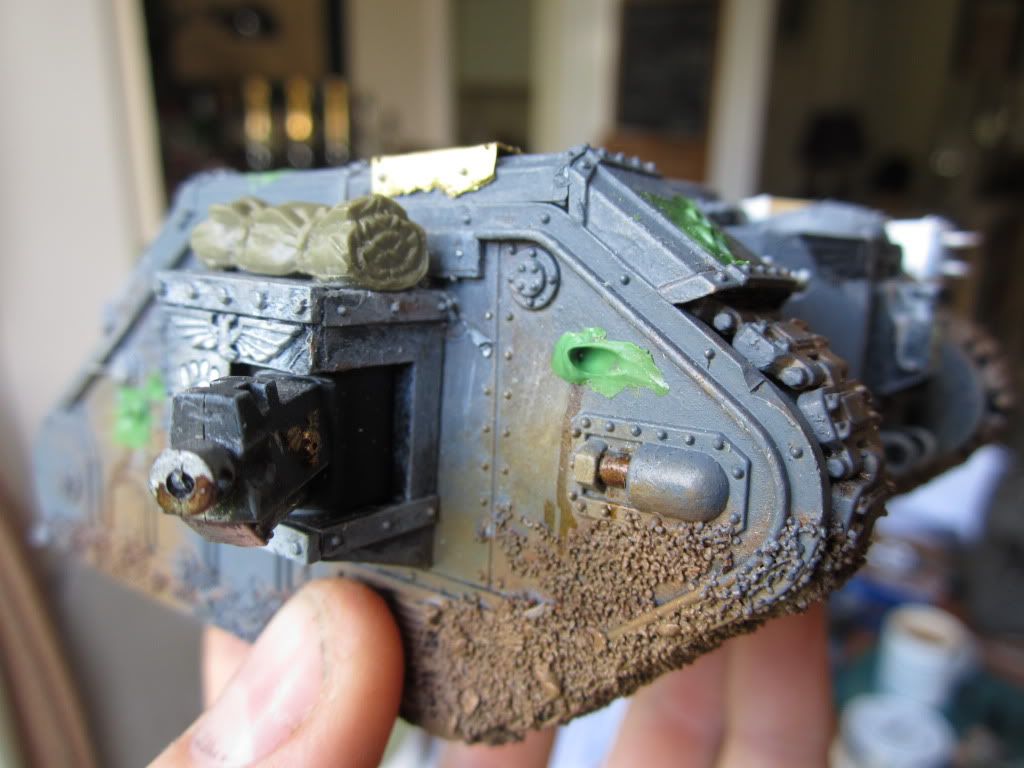
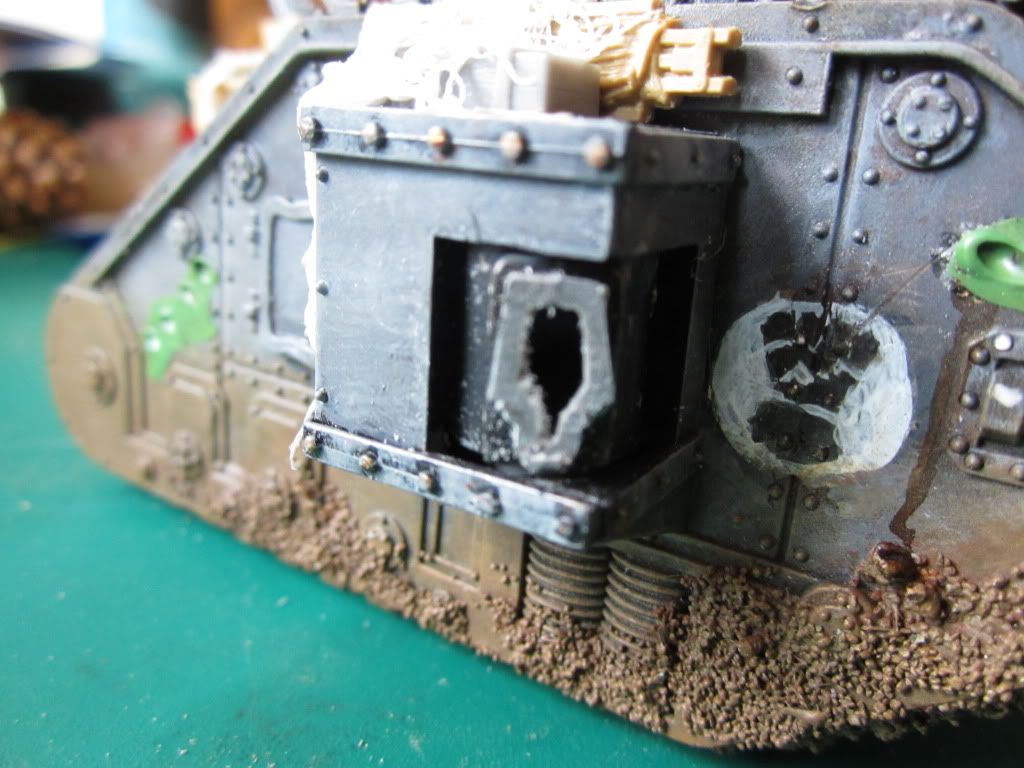
Here is an example of the FW-style greenstuffed shell-strikes:
Note the studded and quilted armour on his left arm. That was a particular bitch to do.
I am currently working on a sniper so that I have enough for a Ratling proxy squad, and a heavy bolter team for the Veterans. When I have finished sculpting I will upload photos.
Here is an example of the FW-style greenstuffed shell-strikes:
Thursday, 2 August 2012
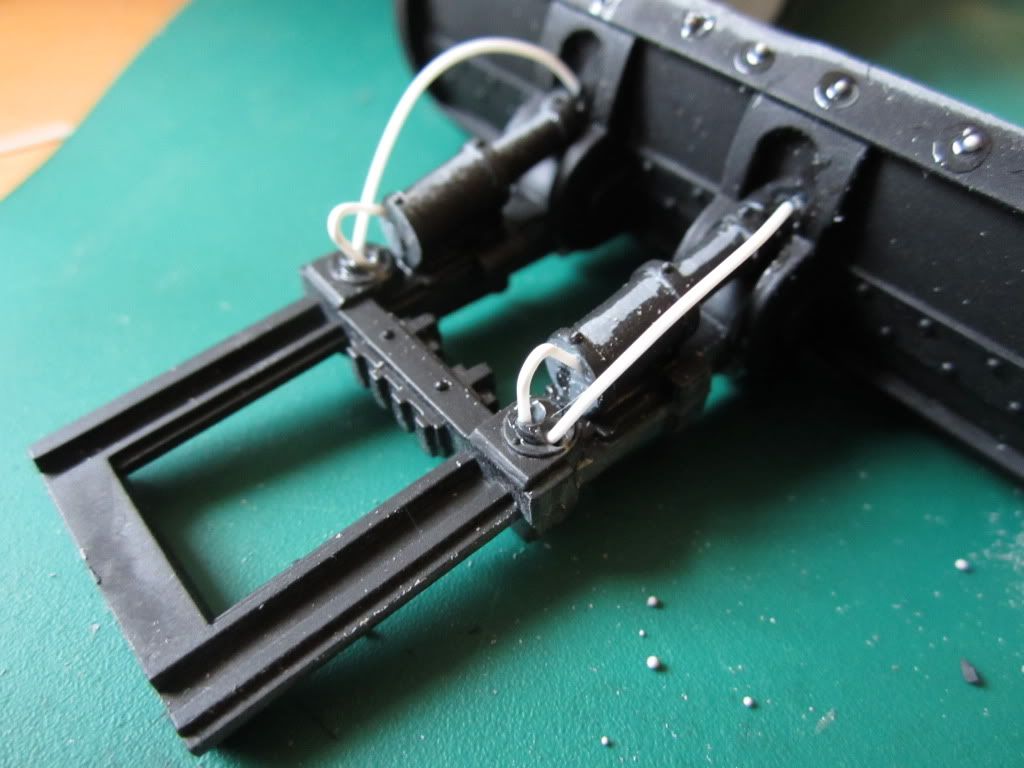
Dozer blades
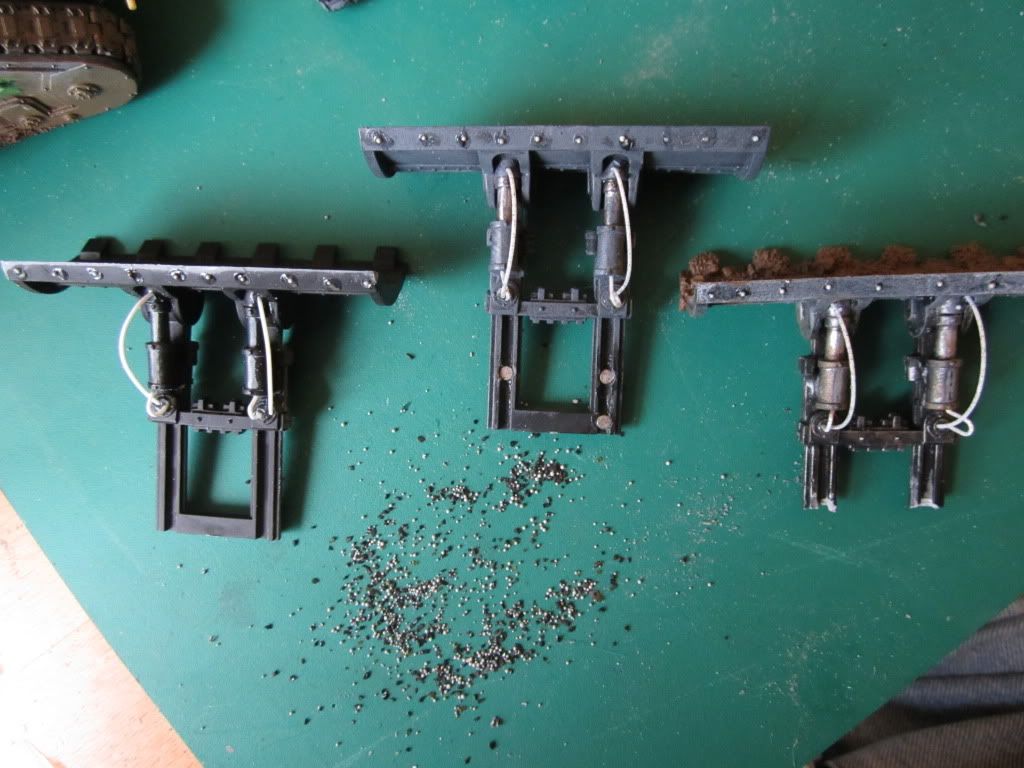
Just finished - note the rivets made by creating a shallow recess (using a drill) and glueing in a tiny ball from a water filter (shown centre).
Hydraulics made from plasticard rod:
Heavy bolter sponson conversion tutorial
I have now retrofitted the Conqueror to feature the WWI-esque heavy bolters featured below, and thought I'd include a step-by-step in case people wished to try the same thing.
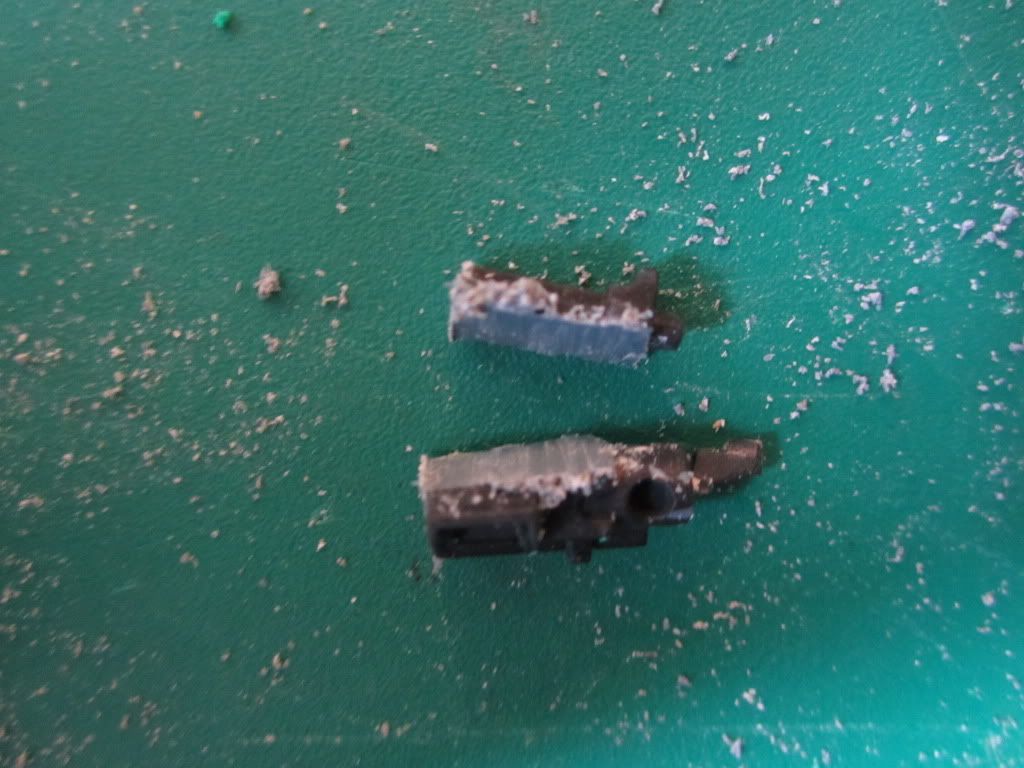
2 - Saw through the shoota at the point where the round barrel housing ends, and clean up the edges with the knife and file.
http://i219.photobucket.com/albums/cc204/Wulfthegn/July%202012/IMG_0229.jpg
3 - File the top of the shoota until it is slightly flat (i.e. no longer round).
4 - Saw through the heavy bolter (HWT version if converting old Russ model) immediately behind the shell ejection port.
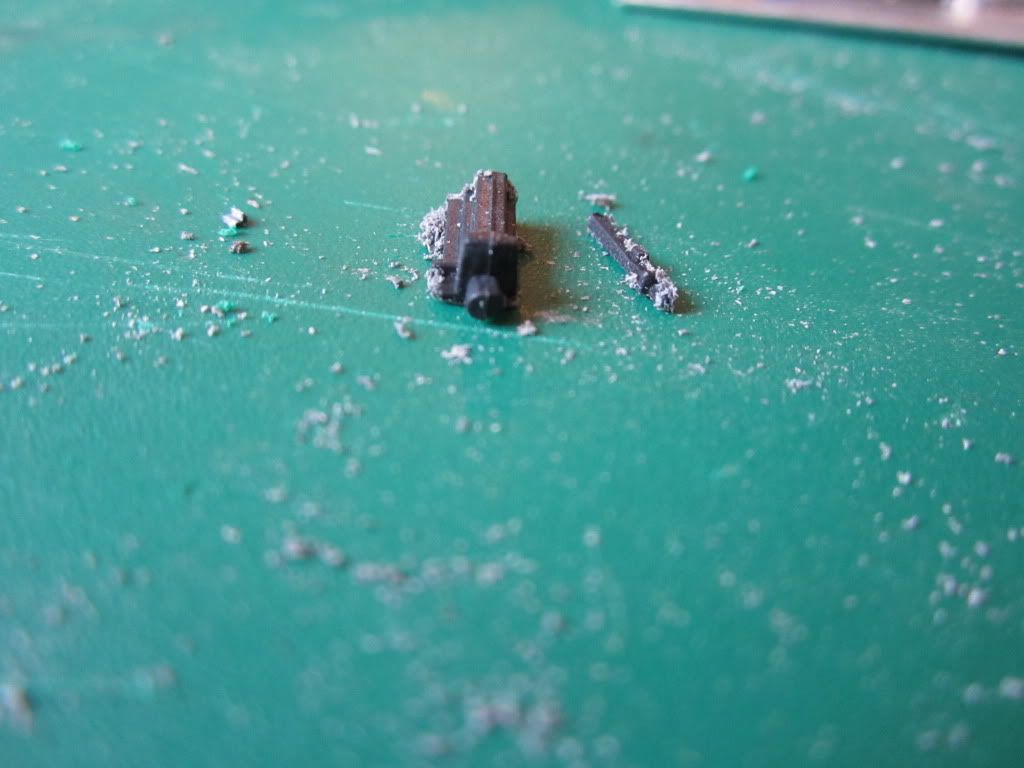
5 - Saw vertically down along the length of the barrel, just below the little round bit that projects out above the muzzle.
6 - Use the knife to cut along the length of the piece, maintaining a width the same as the weapon's foresight (the bit that sticks up above the muzzle). Clean up edges.
7 - Glue the two pieces together, ensuring that the ends are flush, but also that the top piece does not project too far ahead of the muzzle of the gun.
8 - Glue to the sponson/hull mount.
Voila! Quirky and slightly more realistically scaled hull weapons.
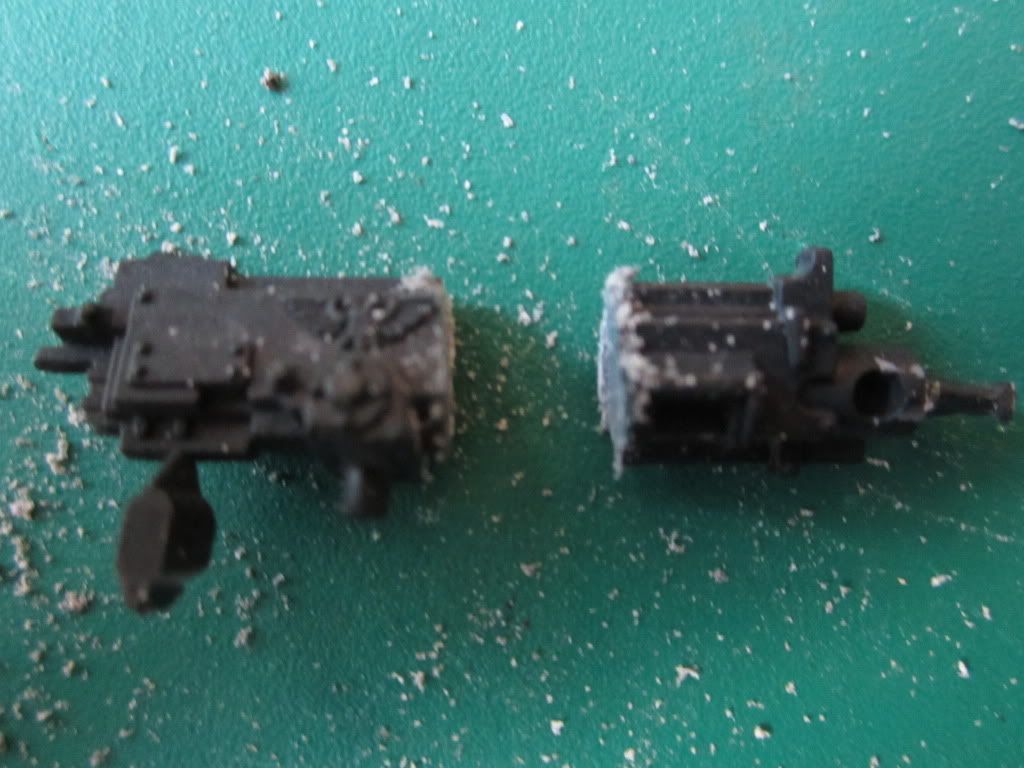
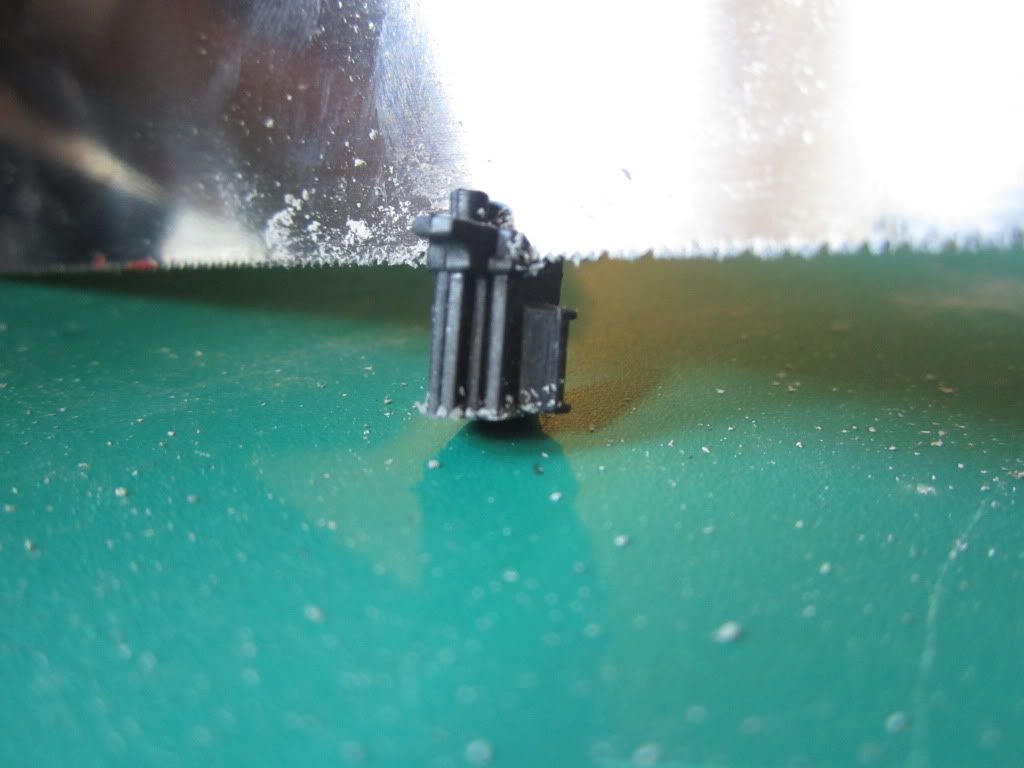
Although I will confess it is more than a little wasteful... junk on the left, end product on the right.
Tools needed:
- Razor saw
- Craft knife
- File
Parts needed:
- Imperial Guard Heavy Weapons team heavy bolters (if using old Leman Russ model)
- Ork shootas (easiest to obtain en masse from bitz sites - the name of the part varies)
Method:
1 - Saw off the sponsons and hull weapon at the base if using the old Russ; if using the new one, simply take the gun out.2 - Saw through the shoota at the point where the round barrel housing ends, and clean up the edges with the knife and file.
http://i219.photobucket.com/albums/cc204/Wulfthegn/July%202012/IMG_0229.jpg
3 - File the top of the shoota until it is slightly flat (i.e. no longer round).
4 - Saw through the heavy bolter (HWT version if converting old Russ model) immediately behind the shell ejection port.
5 - Saw vertically down along the length of the barrel, just below the little round bit that projects out above the muzzle.
6 - Use the knife to cut along the length of the piece, maintaining a width the same as the weapon's foresight (the bit that sticks up above the muzzle). Clean up edges.
7 - Glue the two pieces together, ensuring that the ends are flush, but also that the top piece does not project too far ahead of the muzzle of the gun.
8 - Glue to the sponson/hull mount.
Voila! Quirky and slightly more realistically scaled hull weapons.
Although I will confess it is more than a little wasteful... junk on the left, end product on the right.
Vehicle Progress
I received eighteen (!) identical Ork shootas in the post today, so I can start retrofitting my three Russes with heavy bolters like this:
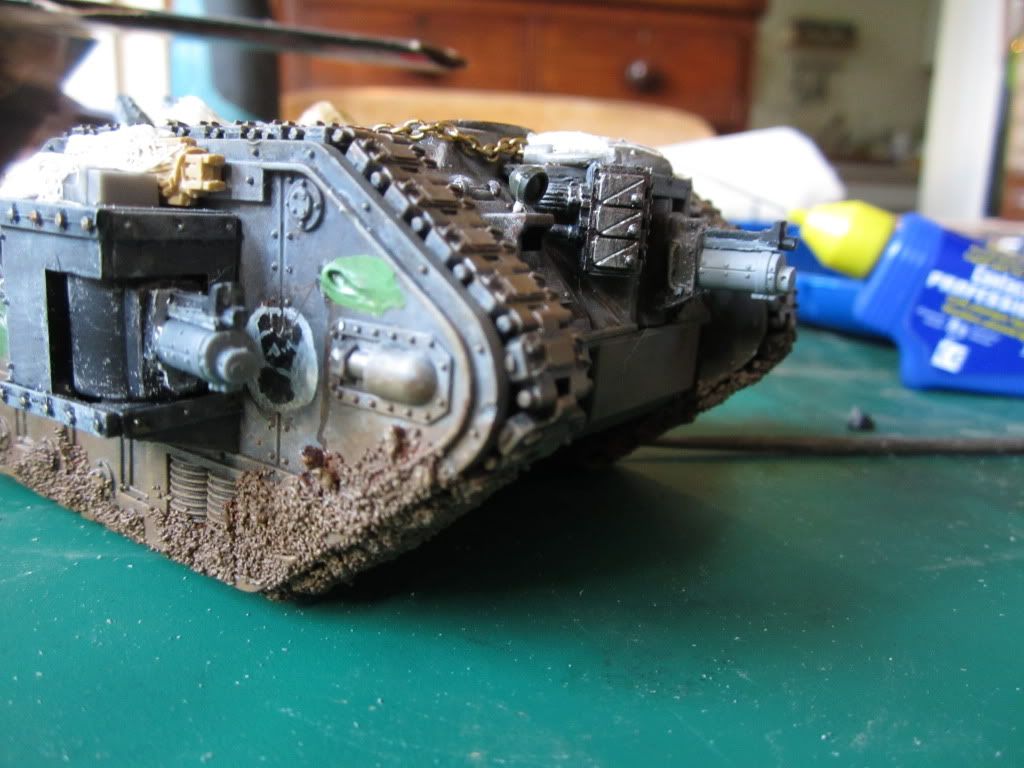
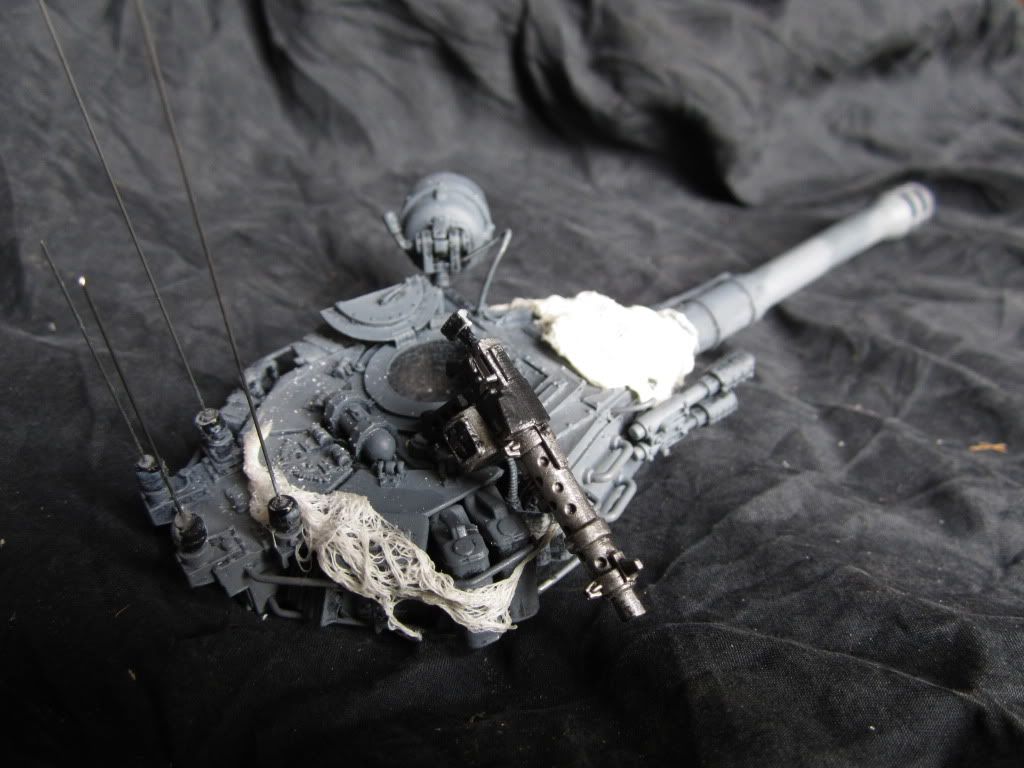
Furthermore, I have now finally finished detailing my tanks - all now have a converted heavy stubber on a pintle-mount in addition to all the other fiddly details. I have also green-stuffed all the bullet- and shell-strikes a la Forge World's model masterclass technique.
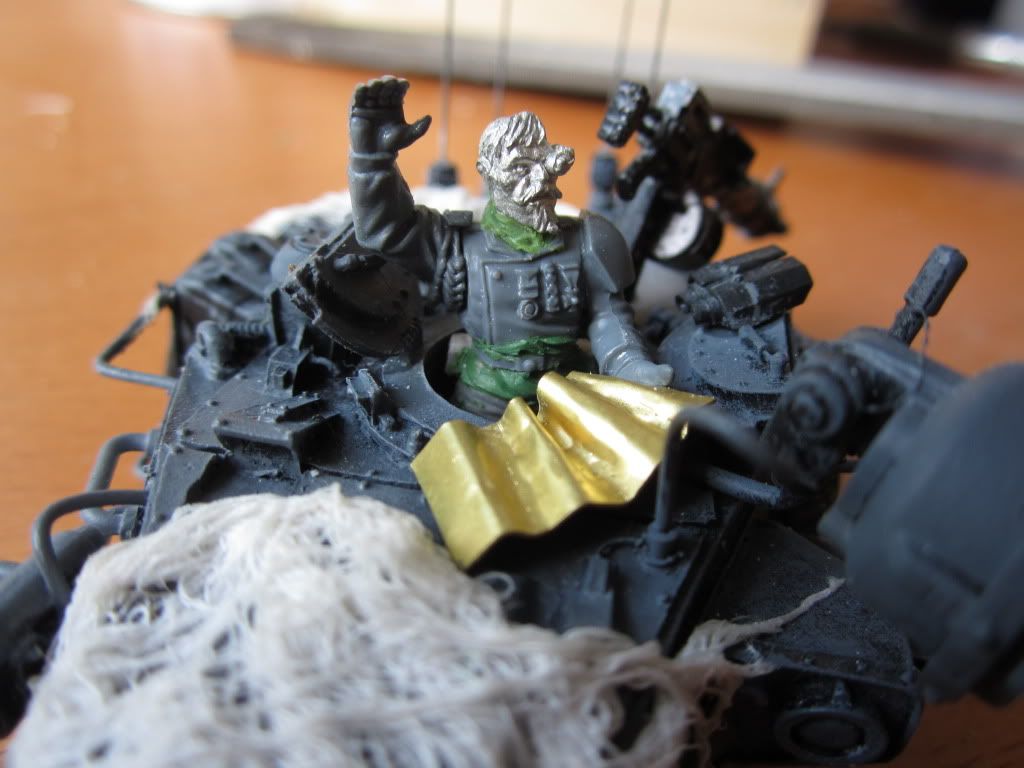
In other news, I have completed my Knight Commander Pask conversion:
Parts:
- Imperial Guard tank crew legs and raised arm
- Cadian officer torso
- Imperial Guard metal head (from GW sprue available online)
- Cadian guardsman left arm
- Bent etched brass sprue to form map
- Greenstuff waist sash.
Furthermore, I have now finally finished detailing my tanks - all now have a converted heavy stubber on a pintle-mount in addition to all the other fiddly details. I have also green-stuffed all the bullet- and shell-strikes a la Forge World's model masterclass technique.
In other news, I have completed my Knight Commander Pask conversion:
Parts:
- Imperial Guard tank crew legs and raised arm
- Cadian officer torso
- Imperial Guard metal head (from GW sprue available online)
- Cadian guardsman left arm
- Bent etched brass sprue to form map
- Greenstuff waist sash.
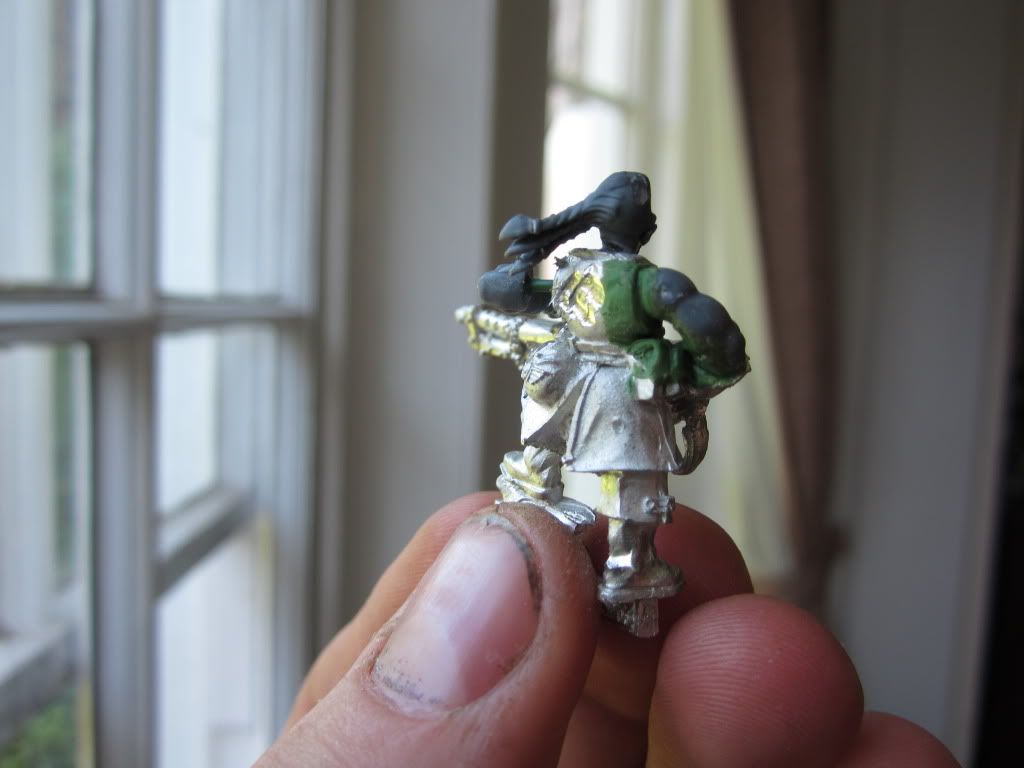
Harker
I have begun work on a Gunnery-Sergeant Harker conversion for my Veteran squad. Parts are:
- Vostroyan sniper body
- Chaos marauder horseman head and arms
- Chaos space marine autocannon
- Ork big shoota strap and bullet belt (not shown)
- Cital scenics resin 40mm base (not shown)
- Kromlech guardsman backpack
Since these photographs were taken I have pinned him to a base and sculpted some quilted armour onto the left arm to finish it. The finished model will sport camo ragging and a scenic base that ties him in with the rest of the squad. Is he looking towards the sky because I accidentally knocked him off the table, to add variation to the otherwise quite samey poses of the army, or to reflect the change in the meta-game that commonplace flyers have introduced? Who knows....
- Vostroyan sniper body
- Chaos marauder horseman head and arms
- Chaos space marine autocannon
- Ork big shoota strap and bullet belt (not shown)
- Cital scenics resin 40mm base (not shown)
- Kromlech guardsman backpack
Since these photographs were taken I have pinned him to a base and sculpted some quilted armour onto the left arm to finish it. The finished model will sport camo ragging and a scenic base that ties him in with the rest of the squad. Is he looking towards the sky because I accidentally knocked him off the table, to add variation to the otherwise quite samey poses of the army, or to reflect the change in the meta-game that commonplace flyers have introduced? Who knows....
Monday, 30 July 2012
Taking Stock, Take Two
What's varnished and ready to hit the table:
- Company command squad- Platoon command squad
- Two ten-man infantry squads
- Two heavy weapons teams
- One Veteran squad
What's ready to be painted:
- One female infantry squad- One storm trooper squad
- Vanquisher turret
- Chimera
- Two Demolishers
- Conqueror
What's unfinished:
- One scout truck (Scout Salamander proxy)- One five-man rough rider squad
- Exterminator turret
- Russ turret
- Titan tech-priest (Officer of the Fleet)
- Commissar
- Pask conversion
To-do list:
- Marbo- Priest
- Third infantry squad
- Vanquisher chassis
- Exterminator chassis
Saturday, 28 July 2012
A Sudden Flurry of Activity - Part VI
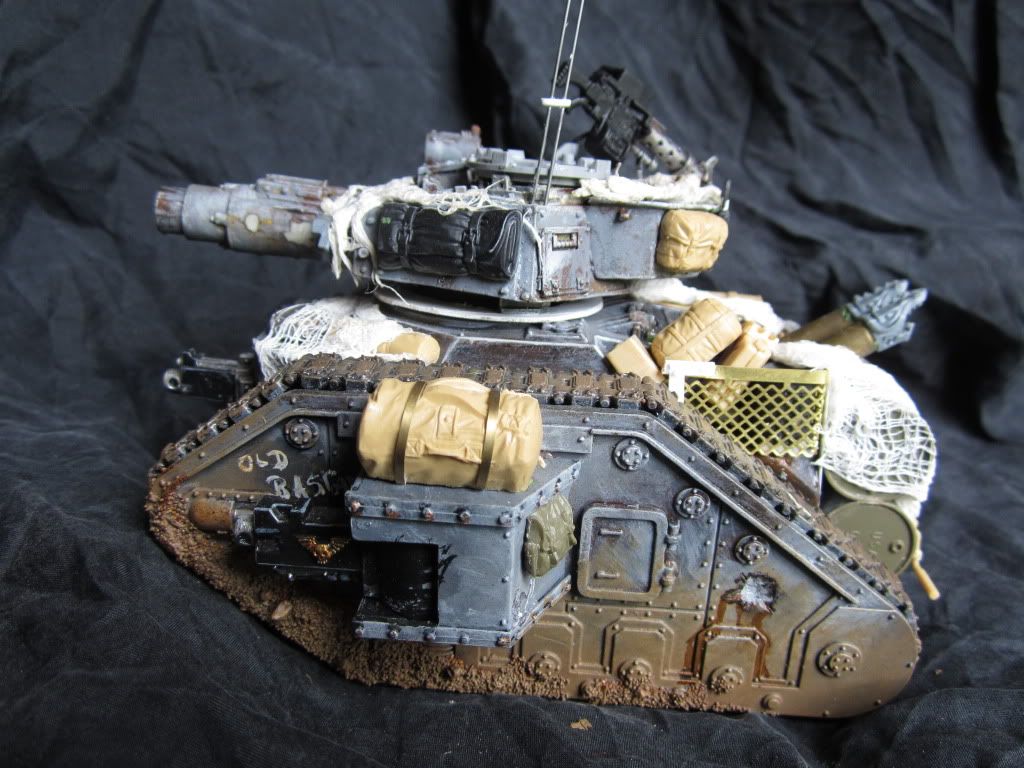
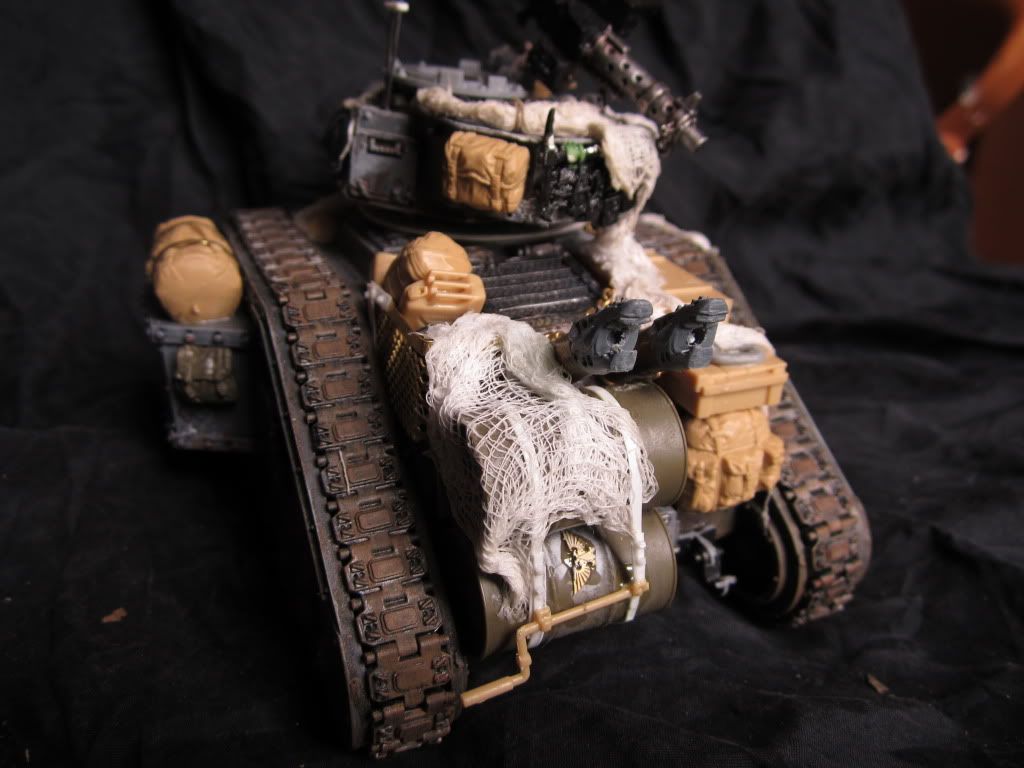
Conqueror / Eradicator / Russ
Conquerors are now utterly mince (as they say in Scotland) so this will get rolled out as an Eradicator or Russ as the situation demands.Chimera
Sometimes houses the Veteran Squad
Various Turrets
| A Pask stand-in to occupy the hatch is still being worked on. |
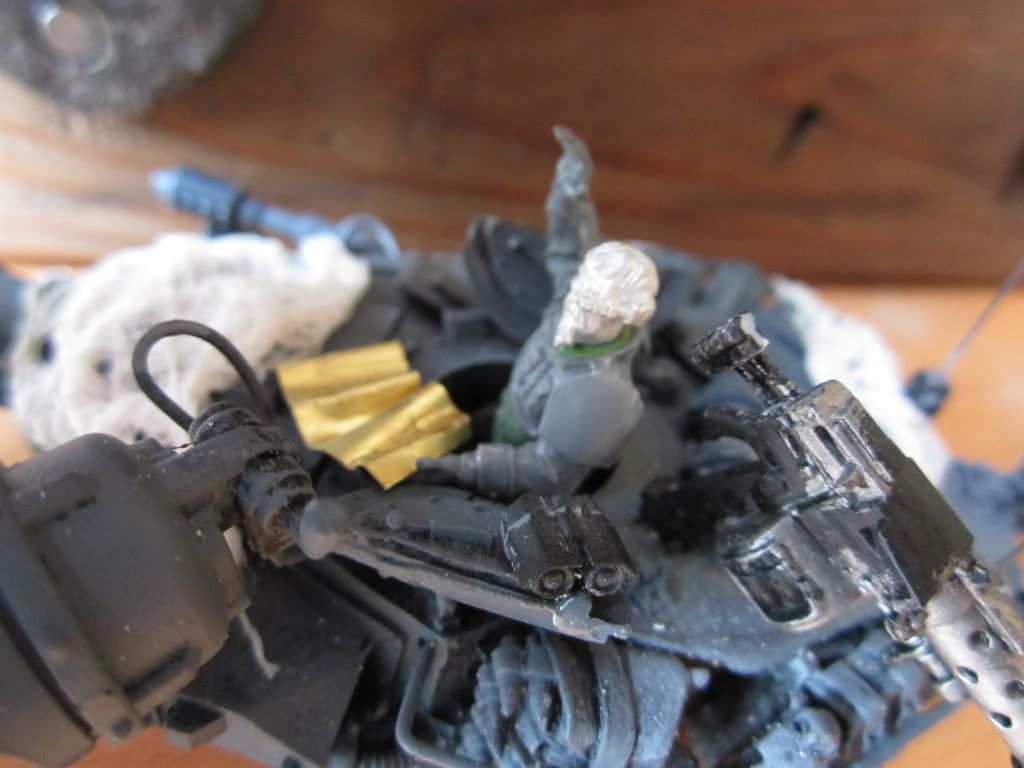
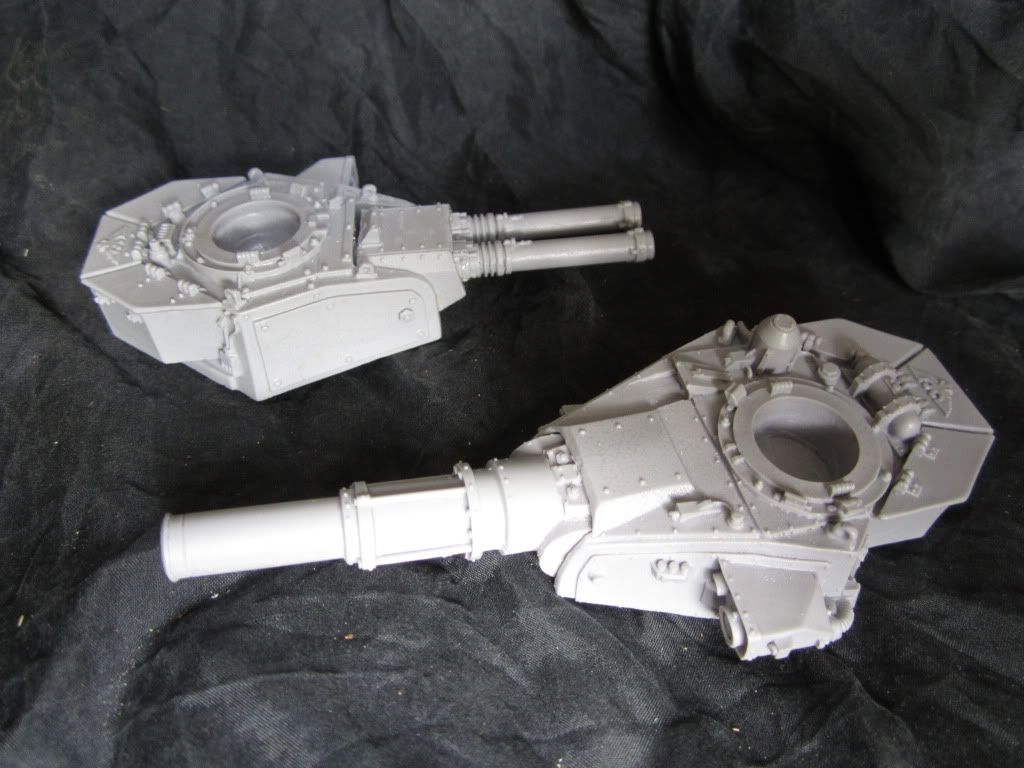
I can't stand the conventional battle cannon so I bought these Krieg turrets from Forgeworld. The Exterminator will form part of the Commissar tank Penitence that will hopefully take shape in the next year or so.
A few notes
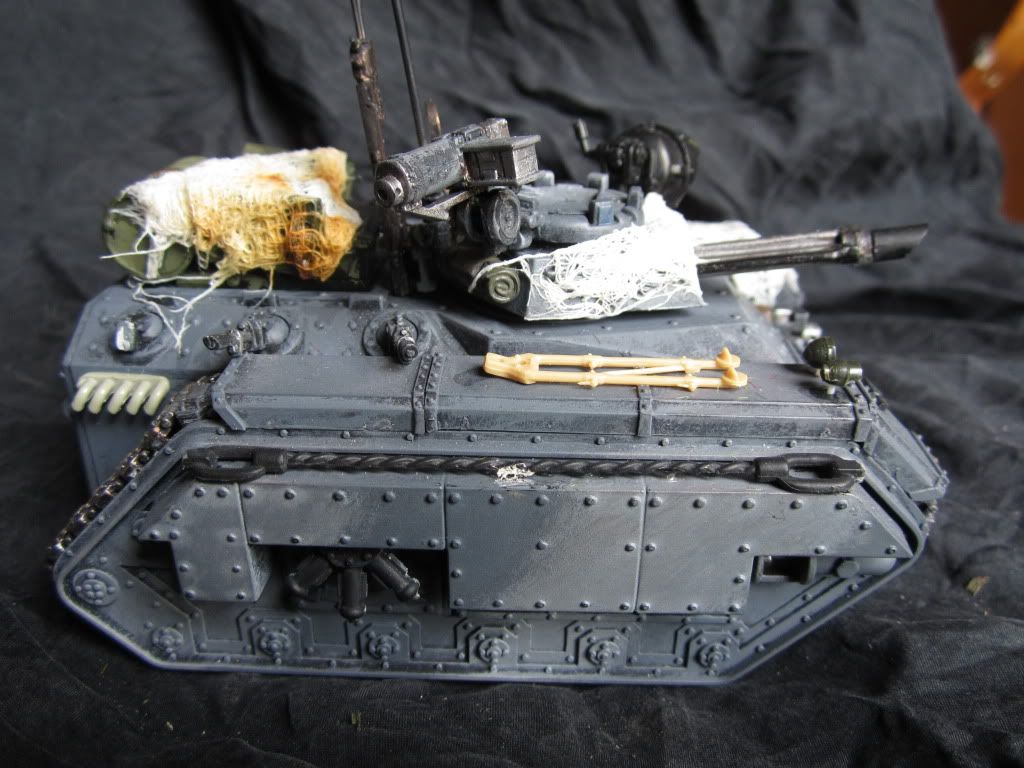
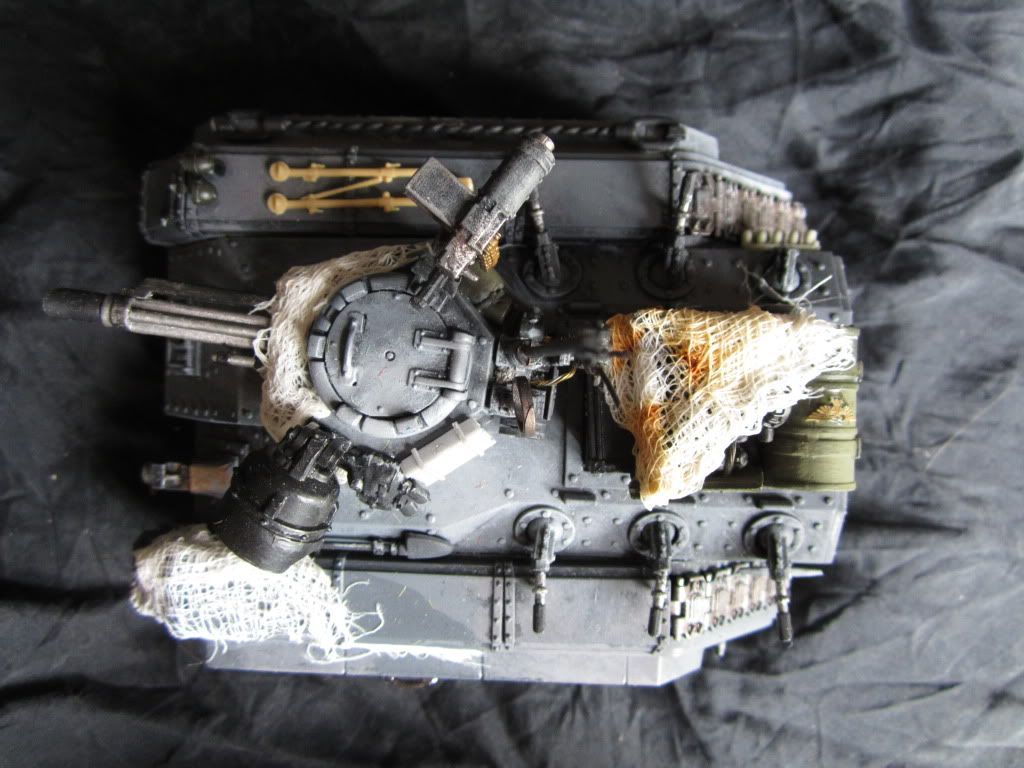
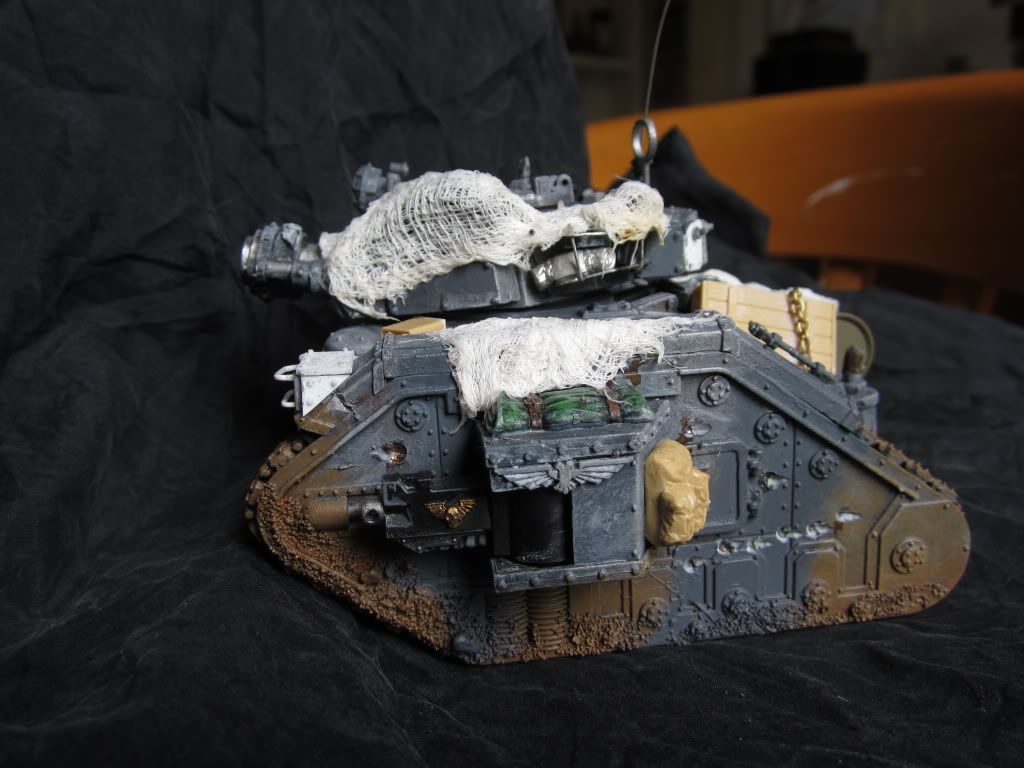
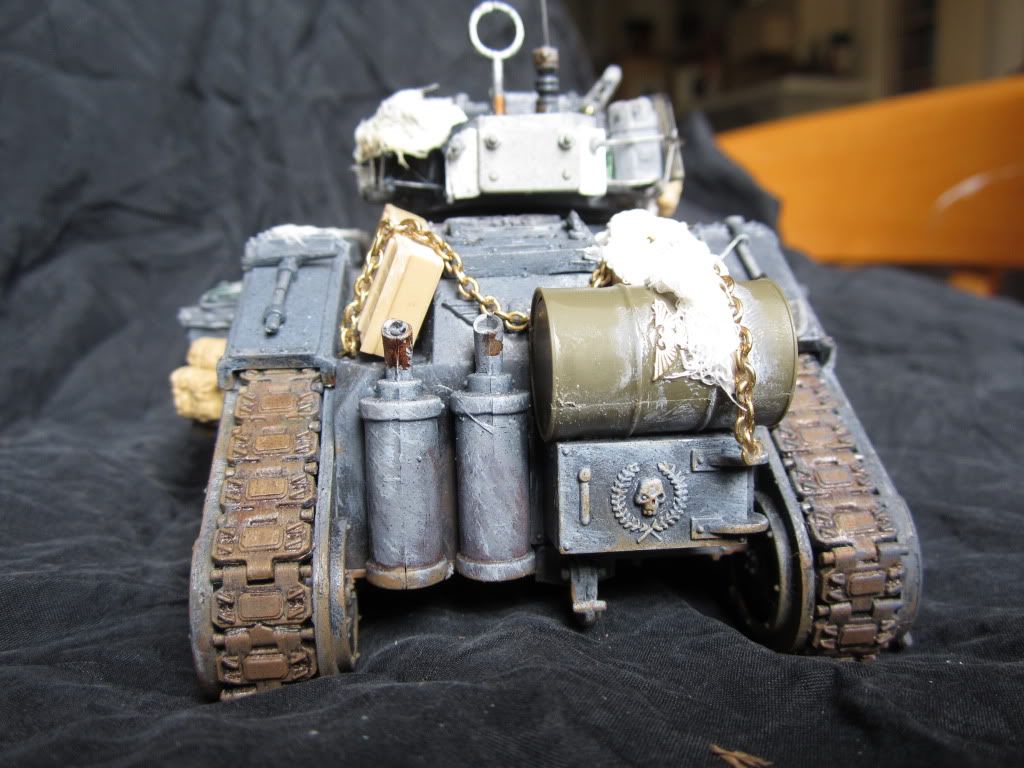
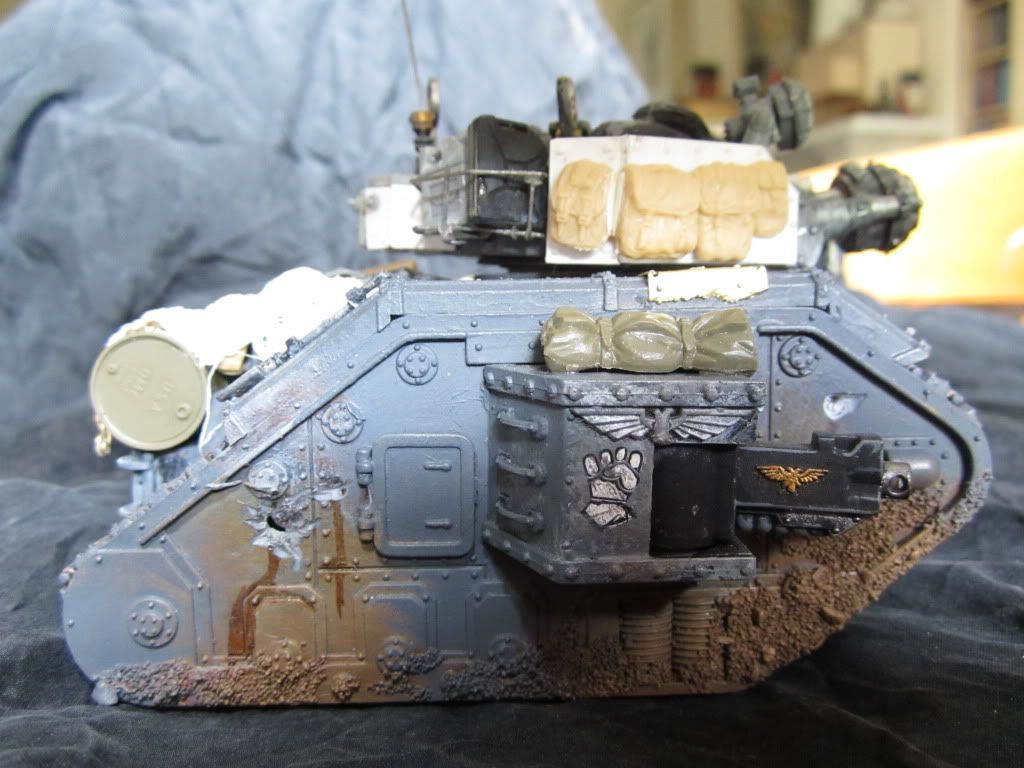
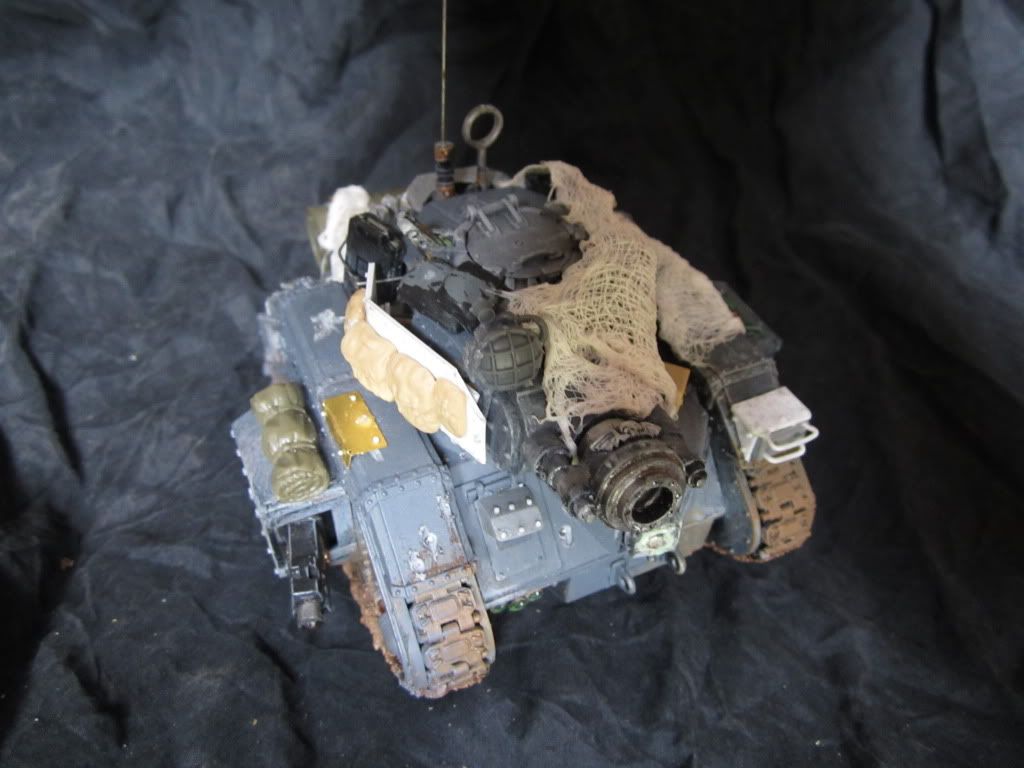
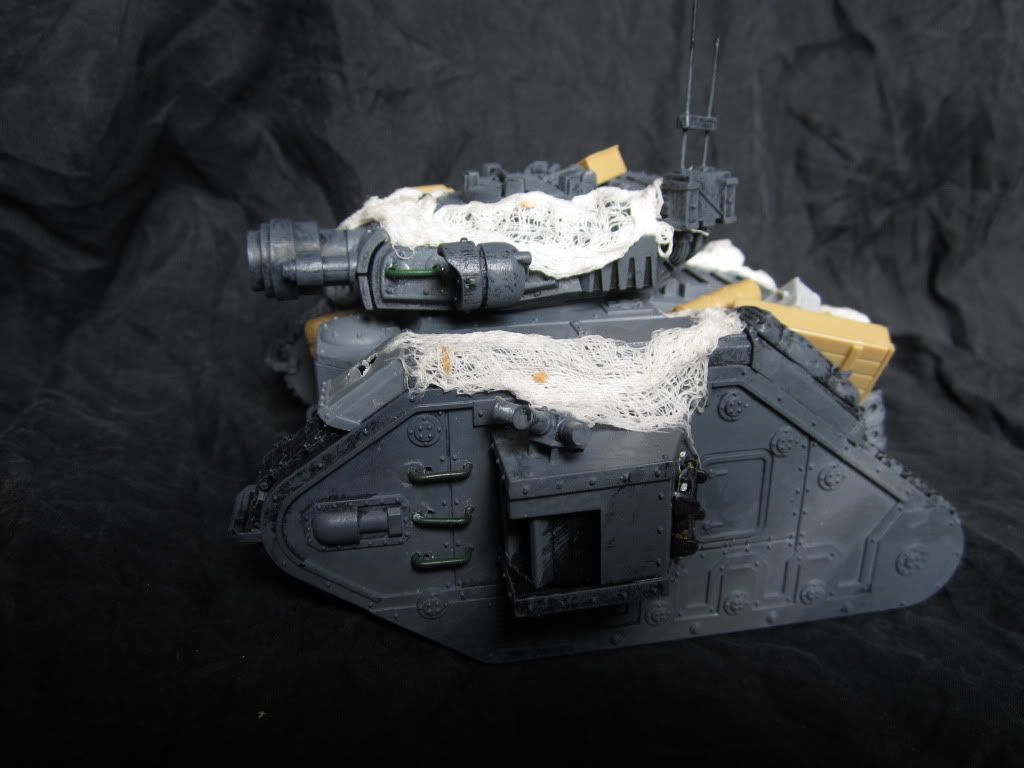
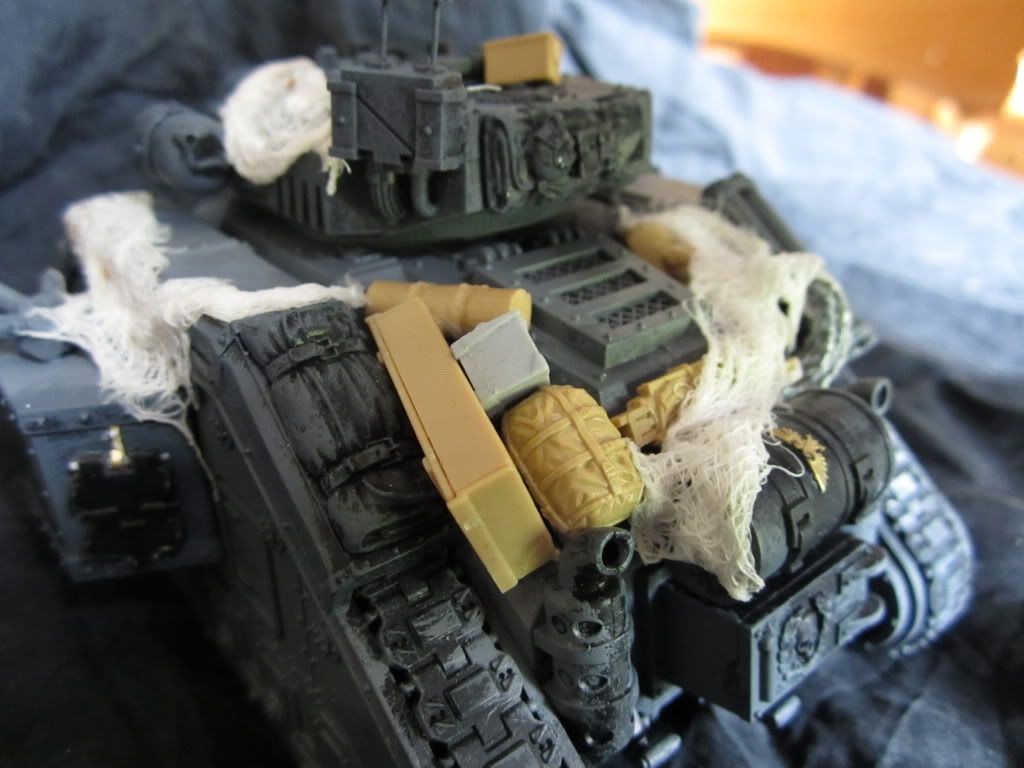
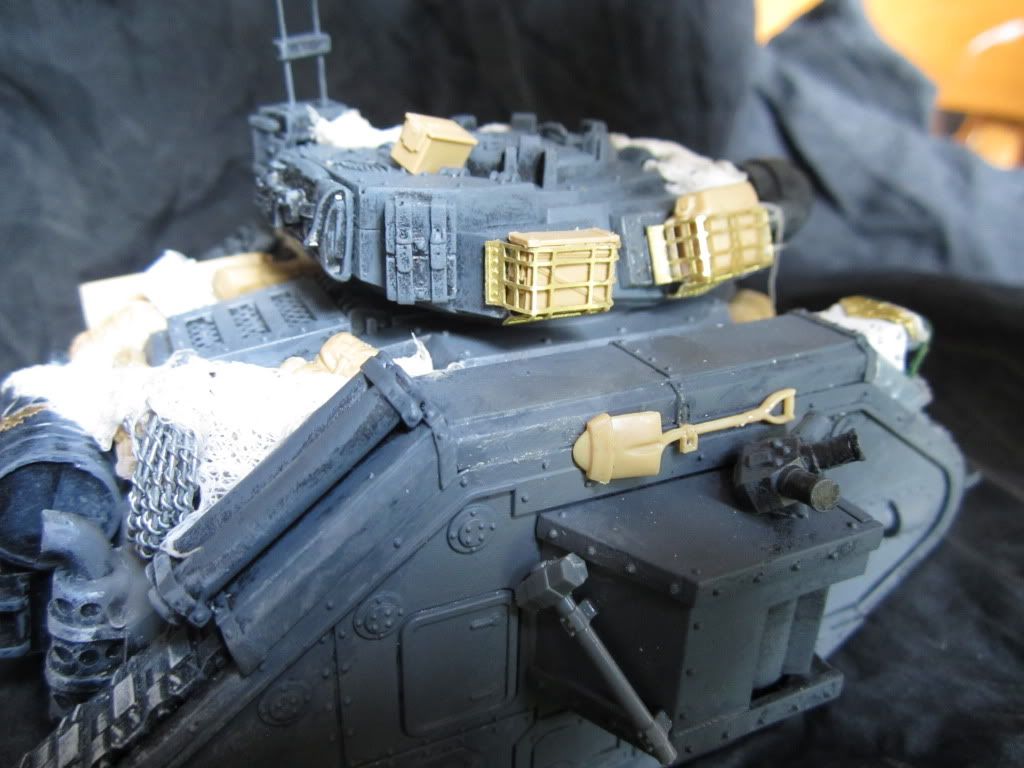
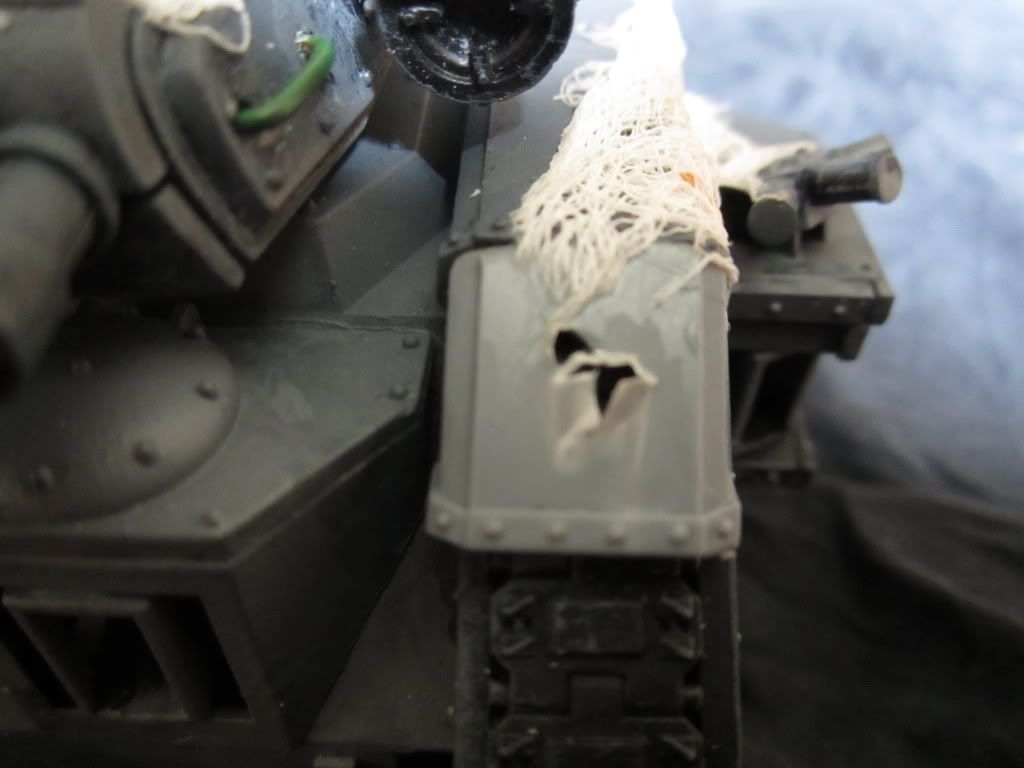
Stowage is a mixture of GW, Forgeworld, and Tamiya stowage kits (WWII and modern). The Conqueror's exhaust pipes are empty .22 casings with Chaos Space Marine weapon muzzles. Heavy stubbers are Ork big shootas. The heavy bolters are all missing because I am awaiting delivery of eighteen Ork shootas identical to those shown in the conversion ideas post some time ago. Camo netting was done according to Forge World's Model Masterclass vol. I recipe (medical gauze in watered-down PVA), and track guard damage was done with a dremel and a grinder head. Rivets are carbon balls from a used water filter that I pinched from a recycling station, and slices of plasticard rod. I really recommend the FW book - it has very easy-to-follow guides with large pictures.A Sudden Flurry of Activity - Part IV
Not painted, but finished modelling:
Heads from tank crew, Space Wolves, Catachans and Marauder Horsemen.
Stormtroopers
| Stole the Necron skull-mask with gas filters from someone else's Inquisitorial stormtroops, but can't remember where I saw them. |
| In the words of the great warrior-poets Metallica: 'Look to the sky just before you die / it's the last time you will...' |
| Melta, vox-op and officer. |
A Sudden Flurry of Activity - Part III
And now...
I'm going to add a heavy bolter and Harker stand-in later.
I am trying to add a bit of 'realism' to every squad, by ensuring that each has a medic (right) and a stowed anti-tank weapon (centre), with a loader (left).
Veteran Squad
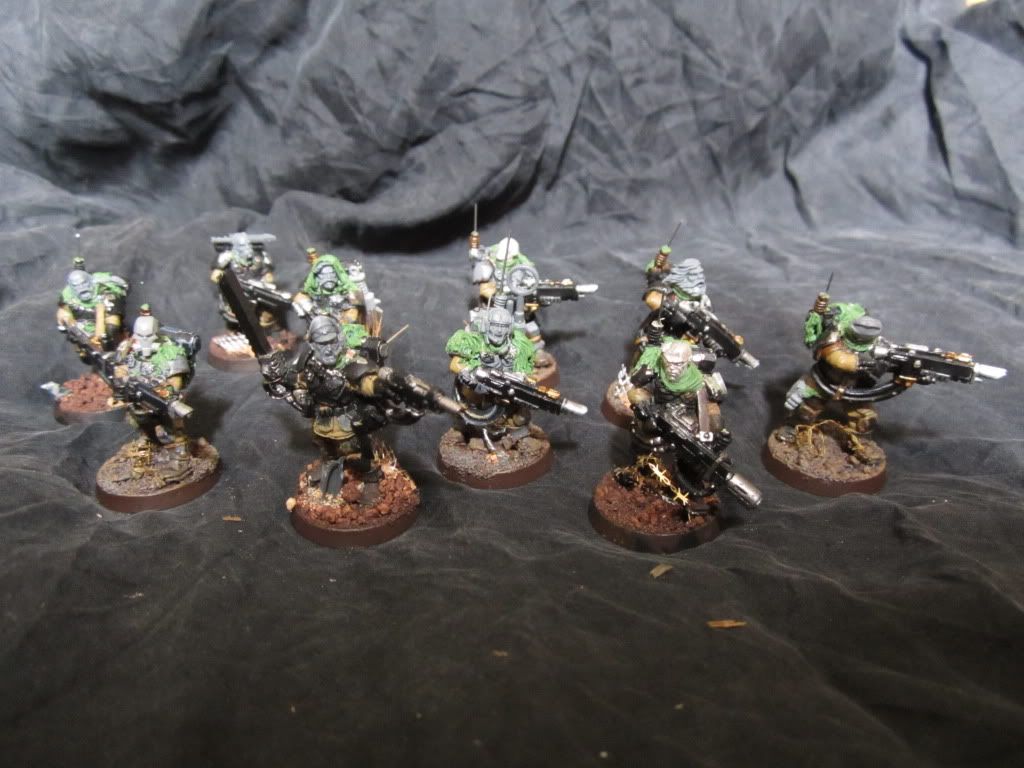
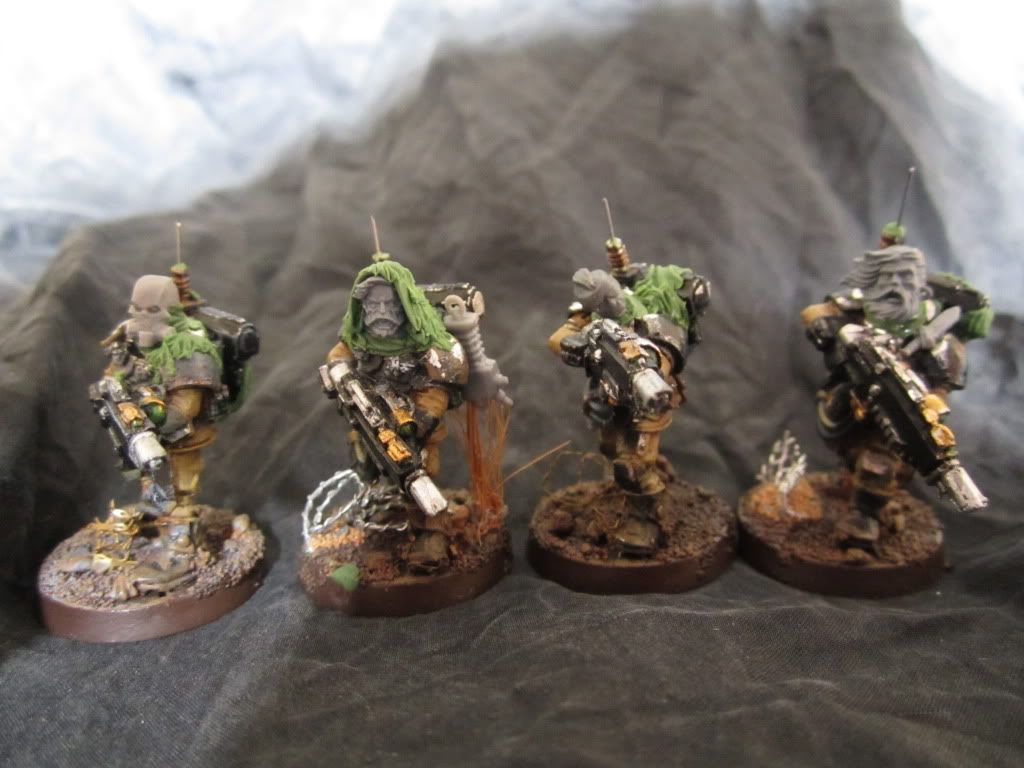
Ten veterans with camo-cloaks. Camo-ragging idea stolen from Bungaroo (see previous posts).| Three riflemen and the Sergeant. |
| Marksman, Vox-Operator and grenadier |
| Medic, Marksman and Scout |
Subscribe to:
Posts (Atom)