I have managed to find the mastermind who came up with the heavy bolter conversion idea - his project log is quite superb.
Spaniel on the Ammobunker forums.

Showing posts with label Tutorial. Show all posts
Showing posts with label Tutorial. Show all posts
Thursday, 9 August 2012

Thursday, 2 August 2012
Heavy bolter sponson conversion tutorial
I have now retrofitted the Conqueror to feature the WWI-esque heavy bolters featured below, and thought I'd include a step-by-step in case people wished to try the same thing.

2 - Saw through the shoota at the point where the round barrel housing ends, and clean up the edges with the knife and file.
http://i219.photobucket.com/albums/cc204/Wulfthegn/July%202012/IMG_0229.jpg
3 - File the top of the shoota until it is slightly flat (i.e. no longer round).
4 - Saw through the heavy bolter (HWT version if converting old Russ model) immediately behind the shell ejection port.

5 - Saw vertically down along the length of the barrel, just below the little round bit that projects out above the muzzle.


6 - Use the knife to cut along the length of the piece, maintaining a width the same as the weapon's foresight (the bit that sticks up above the muzzle). Clean up edges.

7 - Glue the two pieces together, ensuring that the ends are flush, but also that the top piece does not project too far ahead of the muzzle of the gun.
8 - Glue to the sponson/hull mount.

Voila! Quirky and slightly more realistically scaled hull weapons.

Although I will confess it is more than a little wasteful... junk on the left, end product on the right.

Tools needed:
- Razor saw
- Craft knife
- File
Parts needed:
- Imperial Guard Heavy Weapons team heavy bolters (if using old Leman Russ model)
- Ork shootas (easiest to obtain en masse from bitz sites - the name of the part varies)
Method:
1 - Saw off the sponsons and hull weapon at the base if using the old Russ; if using the new one, simply take the gun out.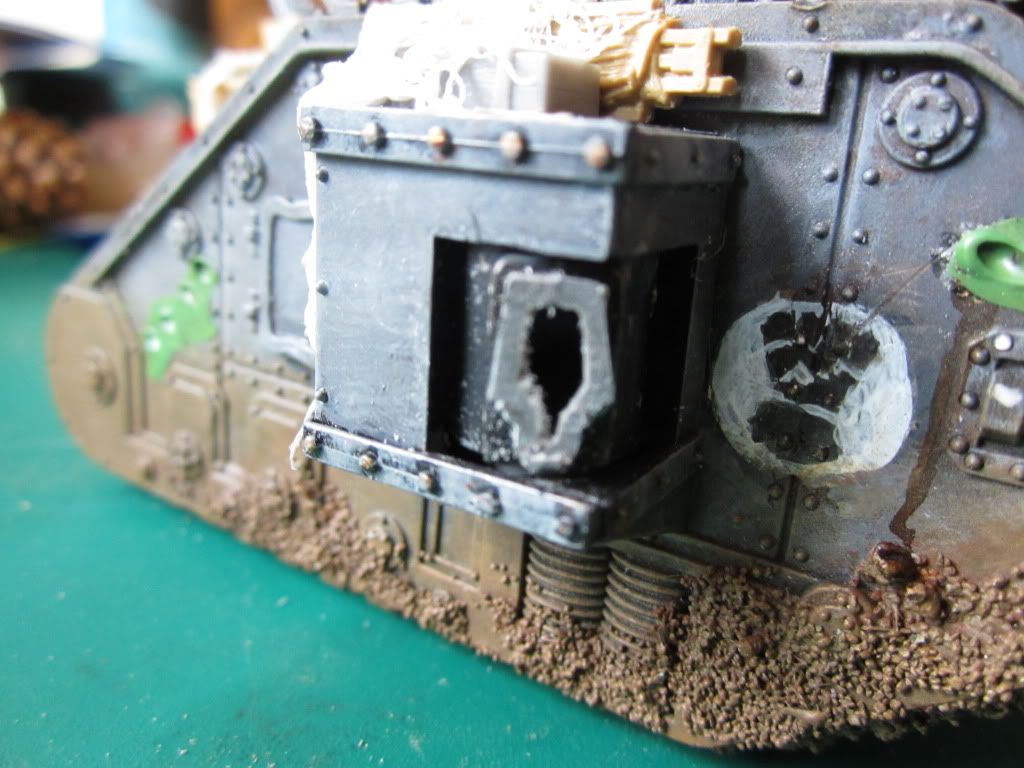
2 - Saw through the shoota at the point where the round barrel housing ends, and clean up the edges with the knife and file.
http://i219.photobucket.com/albums/cc204/Wulfthegn/July%202012/IMG_0229.jpg
3 - File the top of the shoota until it is slightly flat (i.e. no longer round).
4 - Saw through the heavy bolter (HWT version if converting old Russ model) immediately behind the shell ejection port.
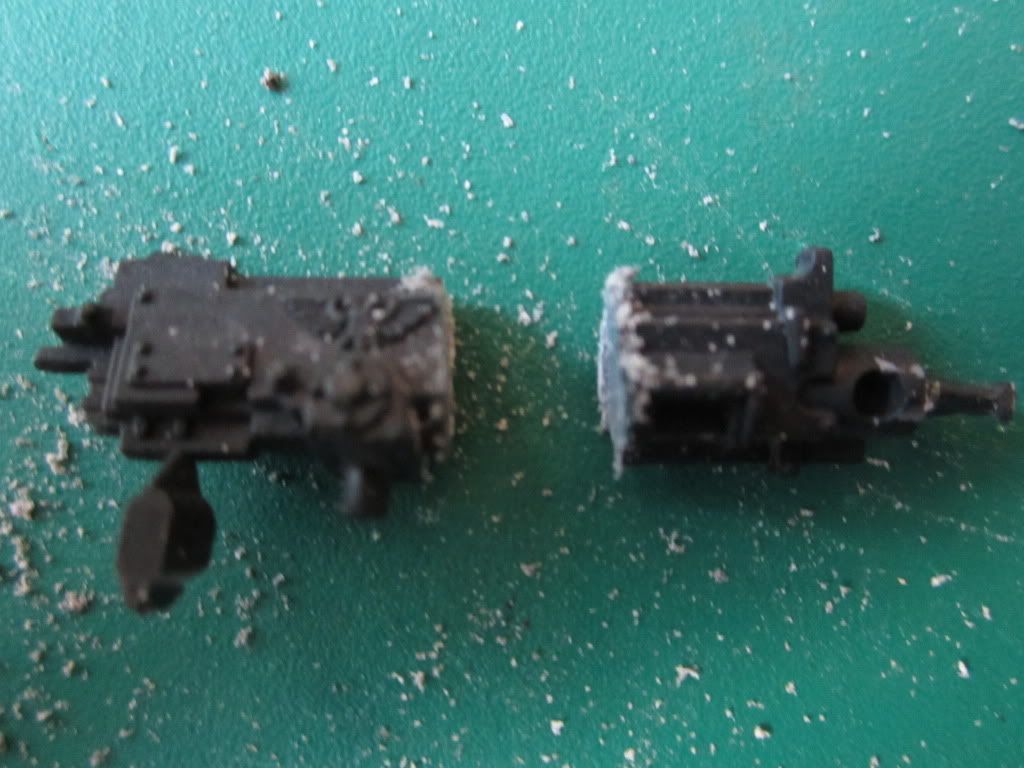
5 - Saw vertically down along the length of the barrel, just below the little round bit that projects out above the muzzle.
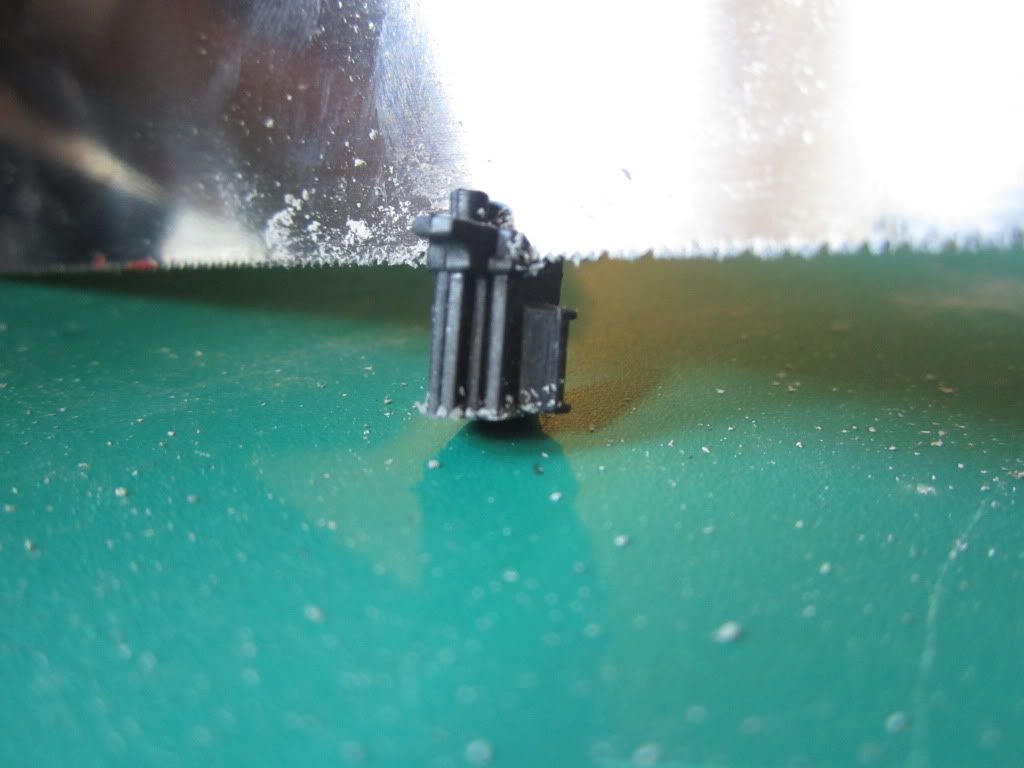
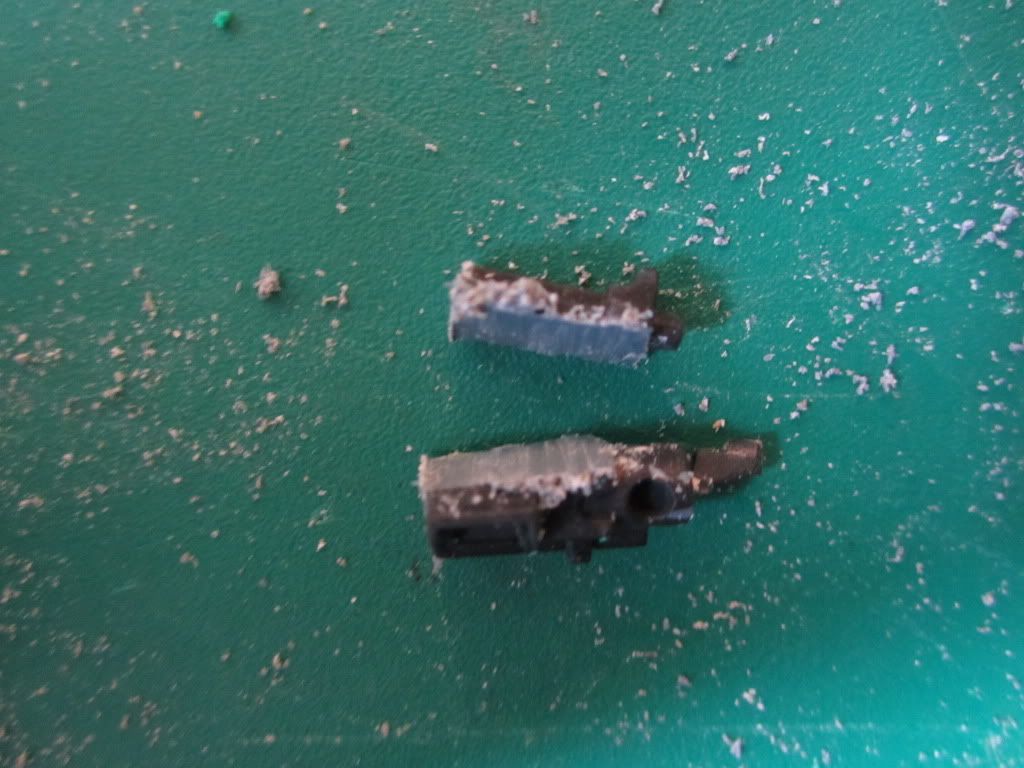
6 - Use the knife to cut along the length of the piece, maintaining a width the same as the weapon's foresight (the bit that sticks up above the muzzle). Clean up edges.
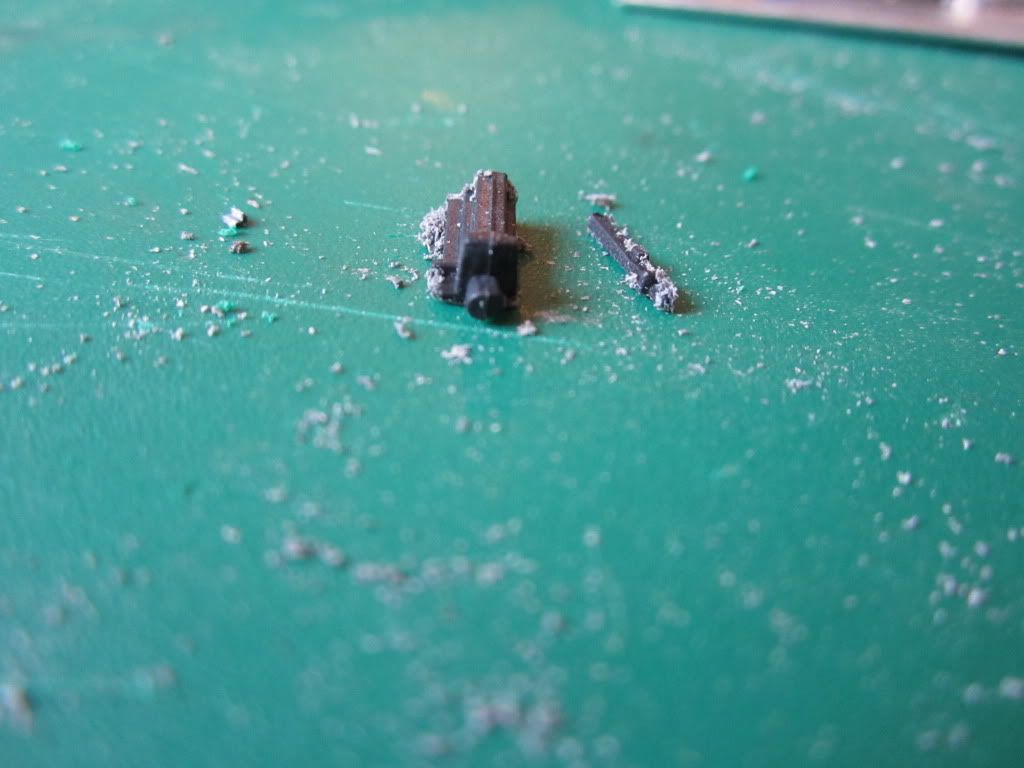
7 - Glue the two pieces together, ensuring that the ends are flush, but also that the top piece does not project too far ahead of the muzzle of the gun.
8 - Glue to the sponson/hull mount.

Voila! Quirky and slightly more realistically scaled hull weapons.
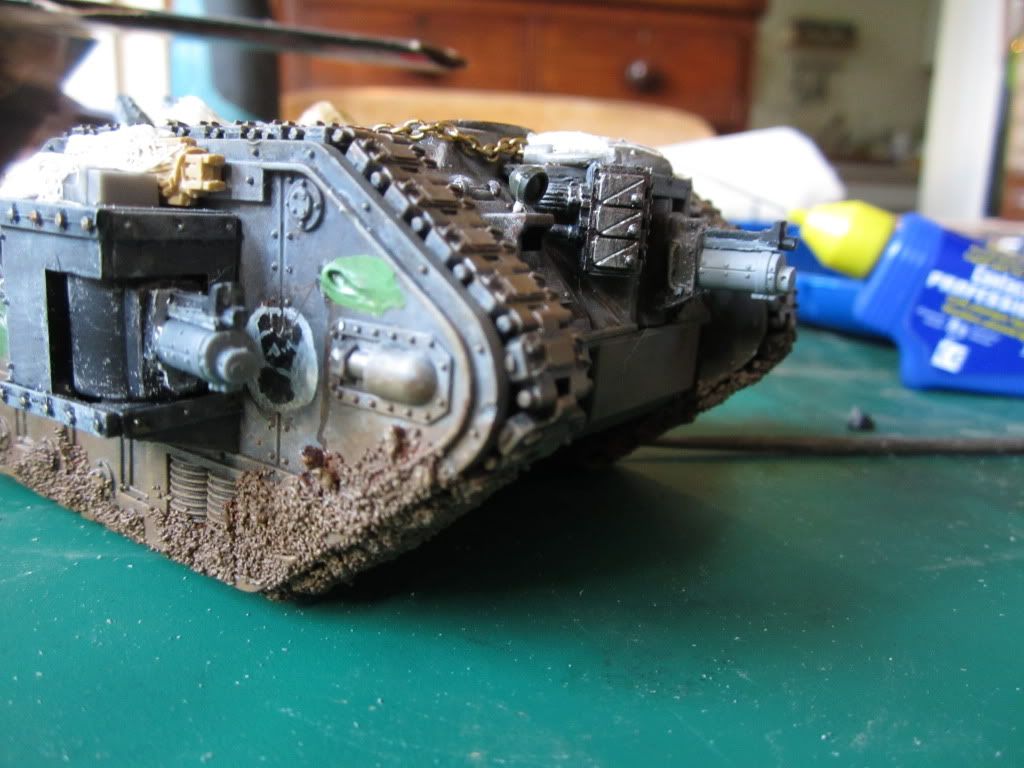
Although I will confess it is more than a little wasteful... junk on the left, end product on the right.

Subscribe to:
Posts (Atom)